
How to Run Whisper Locally Without the Command Line
Whisper is OpenAI's speech recognition model, and it is free to run on your own computer — no upload, no per-minute billing, no internet connection once it is downloaded. The usual route involves a terminal, Python and a build step.
This guide takes a different route: install a desktop application, download the model, produce a transcript. About ten minutes, with no account required.
Before you begin: consider Parakeet first
Whisper was the strongest open speech recognition model available for several years, and it remains very good. It is no longer the most accurate.
NVIDIA's Parakeet models have overtaken it. On English, Parakeet v2 measures around 5.4% word error rate against Whisper Large-V3's 6.5%, and reaches that result several times faster on the same hardware. Parakeet v3 covers 25 European languages.
AirCaption runs Parakeet as well as Whisper. Both appear in the same download window, both run entirely on your own machine, and every step in this guide is identical whichever you choose — so you can transcribe the same file with each and keep whichever result is better.
If your audio is English or a major European language, Parakeet is worth trying first. Whisper retains a clear advantage in breadth — 99 languages, considerably more than Parakeet reaches — so for anything outside that range it remains the right choice.
What is Whisper?
Whisper is an open source speech recognition model that OpenAI released in 2022. It can transcribe many languages, and anyone can download and run it at no cost.
The key word is model. Whisper is not an application — it is a file of trained weights. Something has to load that file, feed audio into it and collect the text it returns. That missing piece is why running Whisper locally sounds straightforward and frequently is not.
Why run Whisper locally?
- Nothing is uploaded. Interview recordings, client footage, medical or legal audio and internal meetings never leave your computer.
- Nothing meters your usage. The work happens on hardware you already own, so transcribing four hundred hours costs the same as four.
- It works offline. Once the model file is on disk, no network connection is required.
- It is the same model the paid services use. Several transcription APIs run Whisper underneath, with a markup.
The command-line route
Whisper is free to run yourself if you are comfortable in a terminal.
OpenAI's own release is the reference
implementation, and faster community builds are available. If brew install,
pip and a compiler are familiar territory, that route works well and this
guide is not for you.
For everyone else the obstacles are real: Python version conflicts, a separate ffmpeg installation, CUDA toolkits on Windows, and build failures that presume familiarity with build systems.
There is a second problem most tutorials omit. Even when the setup succeeds, the result is a raw text file with the model's errors preserved — misheard names, missing punctuation, timings that land slightly early. Whisper is roughly 90% accurate out of the box. Correcting the remaining 10% in a text editor, with no way to hear the audio alongside the words, is slow and error-prone work.
What this guide uses
AirCaption is a desktop application for Mac and Windows that runs Whisper on your own machine — the same model, the same output — with an editor around it, so you can play the audio and correct the text in one window.
What You'll Need
- A Mac or Windows computer. Any machine from the last few years will do; the largest models ask more of it
- An audio or video file.
mp4,mov,mkv,mp3,wav,m4aand most other common formats - Disk space for the model. A few hundred megabytes for the smaller ones, a few gigabytes for the largest
- About ten minutes. No account, and no terminal
Part 1: Install AirCaption and download a model
Download and install AirCaption
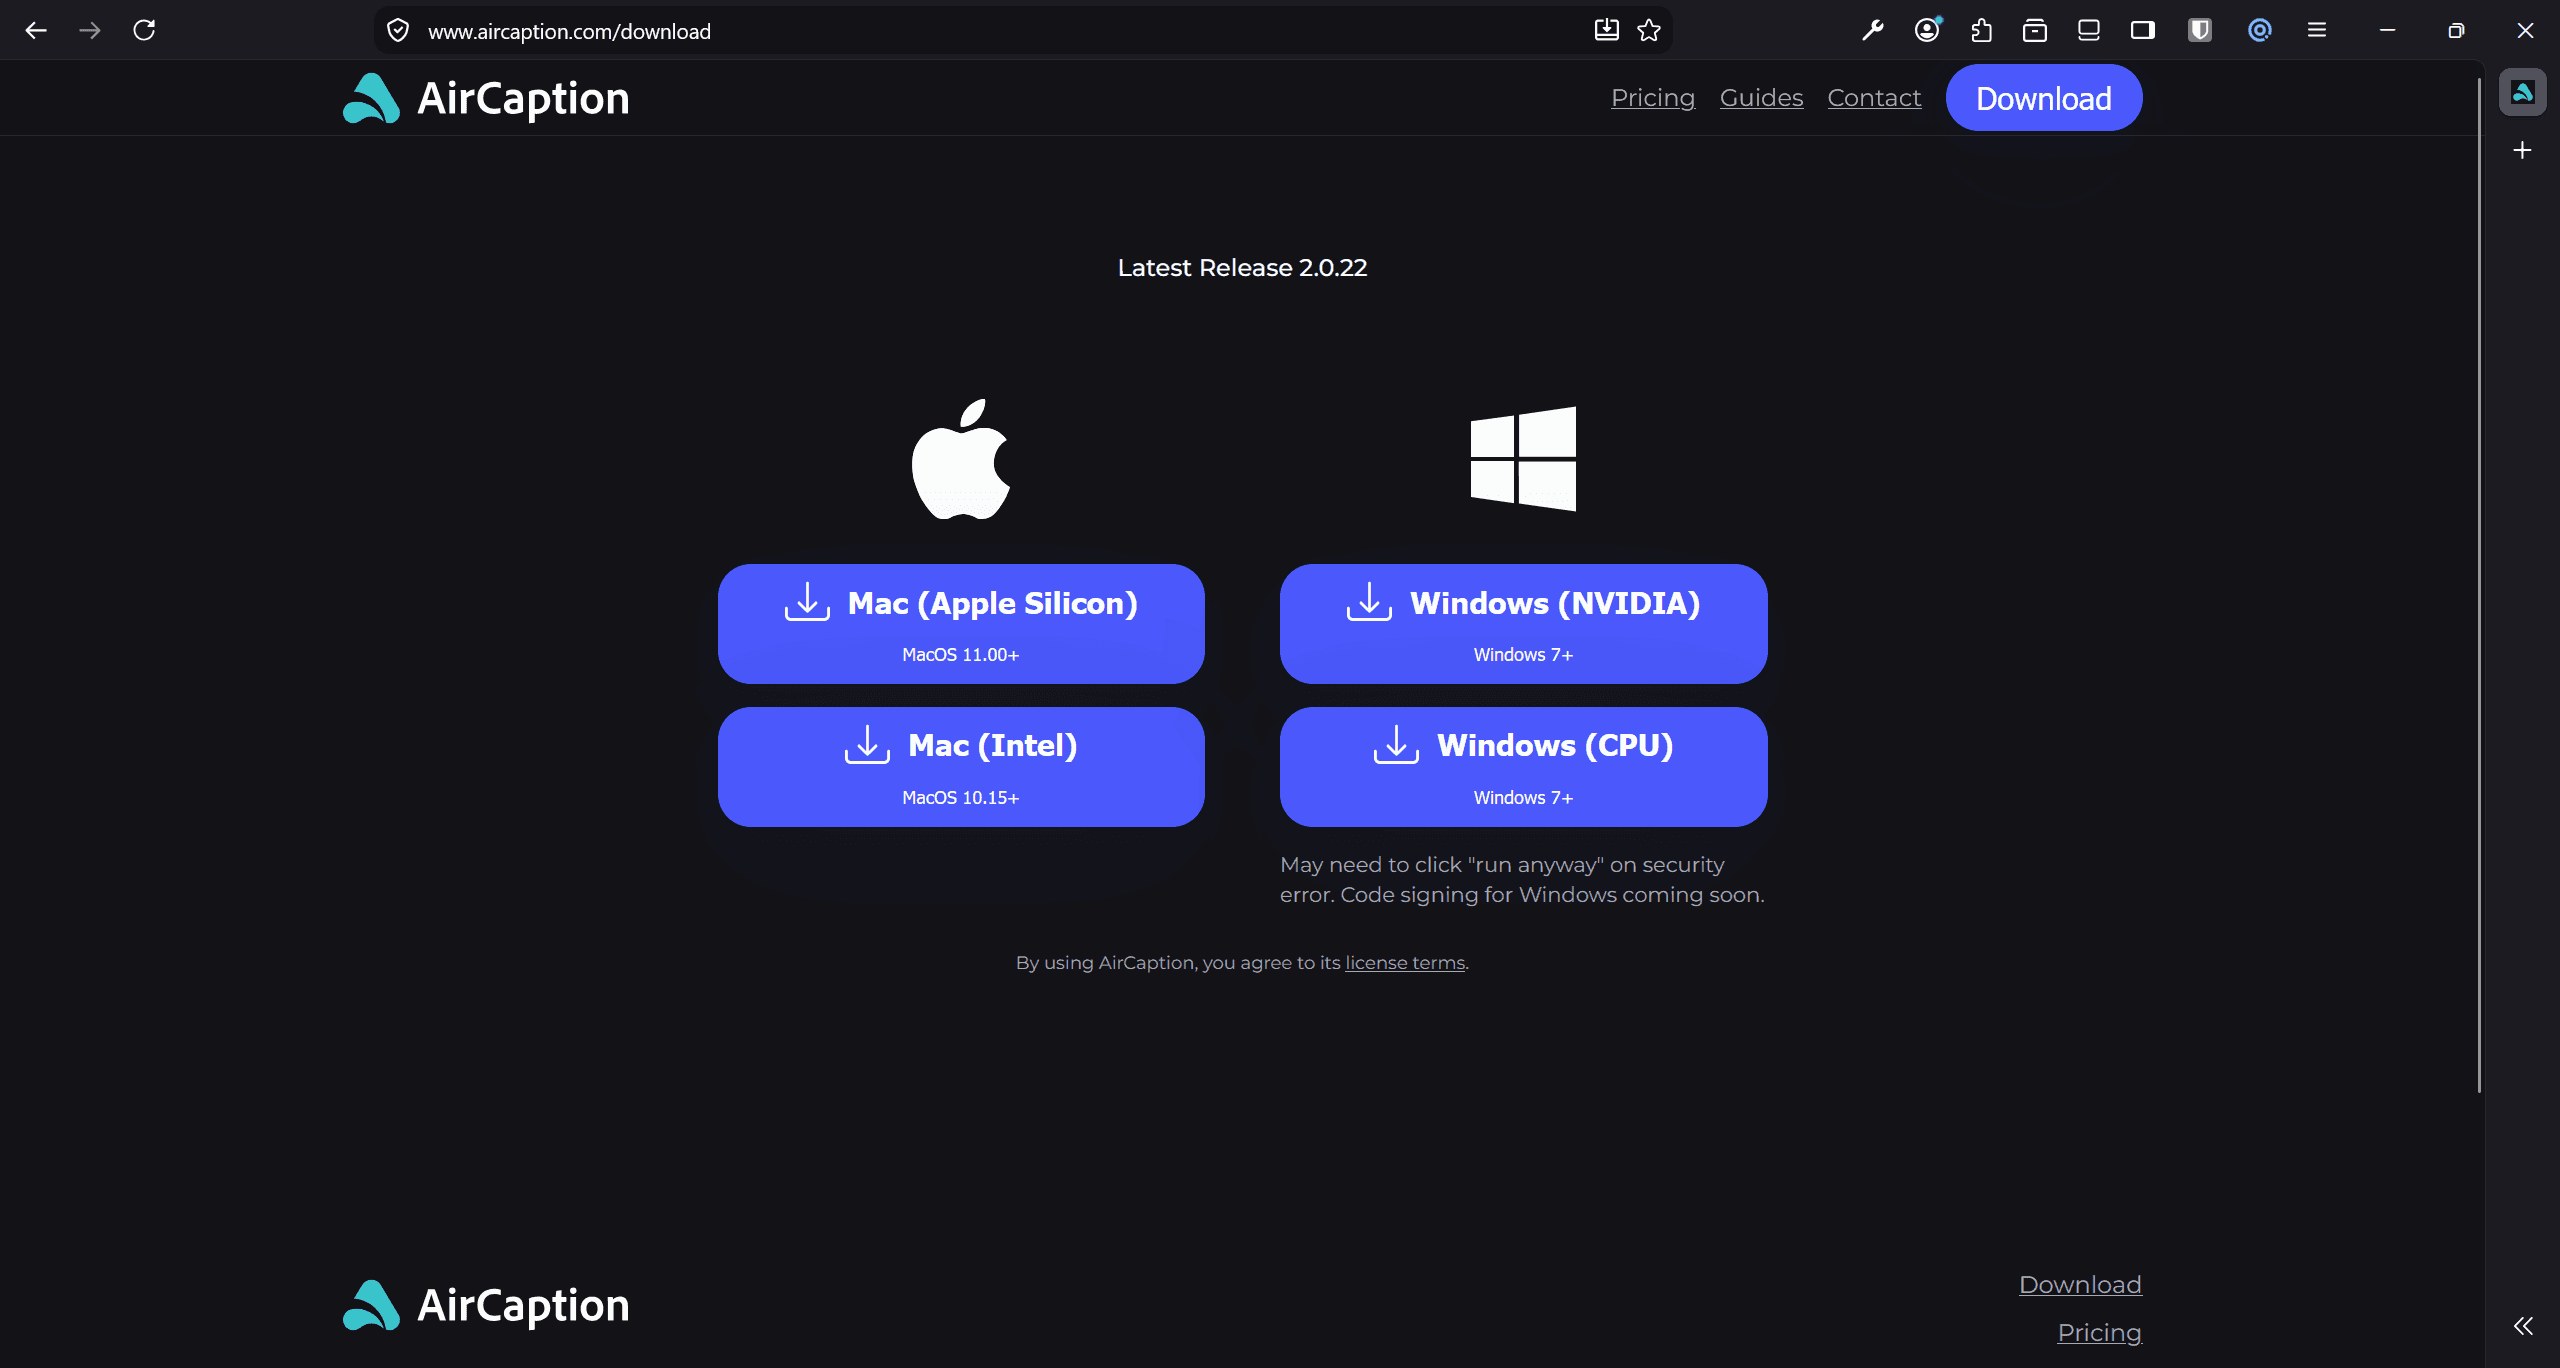
Go to the download page and choose one of the three builds.
- On a Mac, select Mac (Apple Silicon) for an M-series machine or Mac (Intel) for an older one.
- On Windows, select Windows. There is a single build, and it runs on any machine.
Open the installer and accept the terms. There is no account to create.
Download a Whisper model
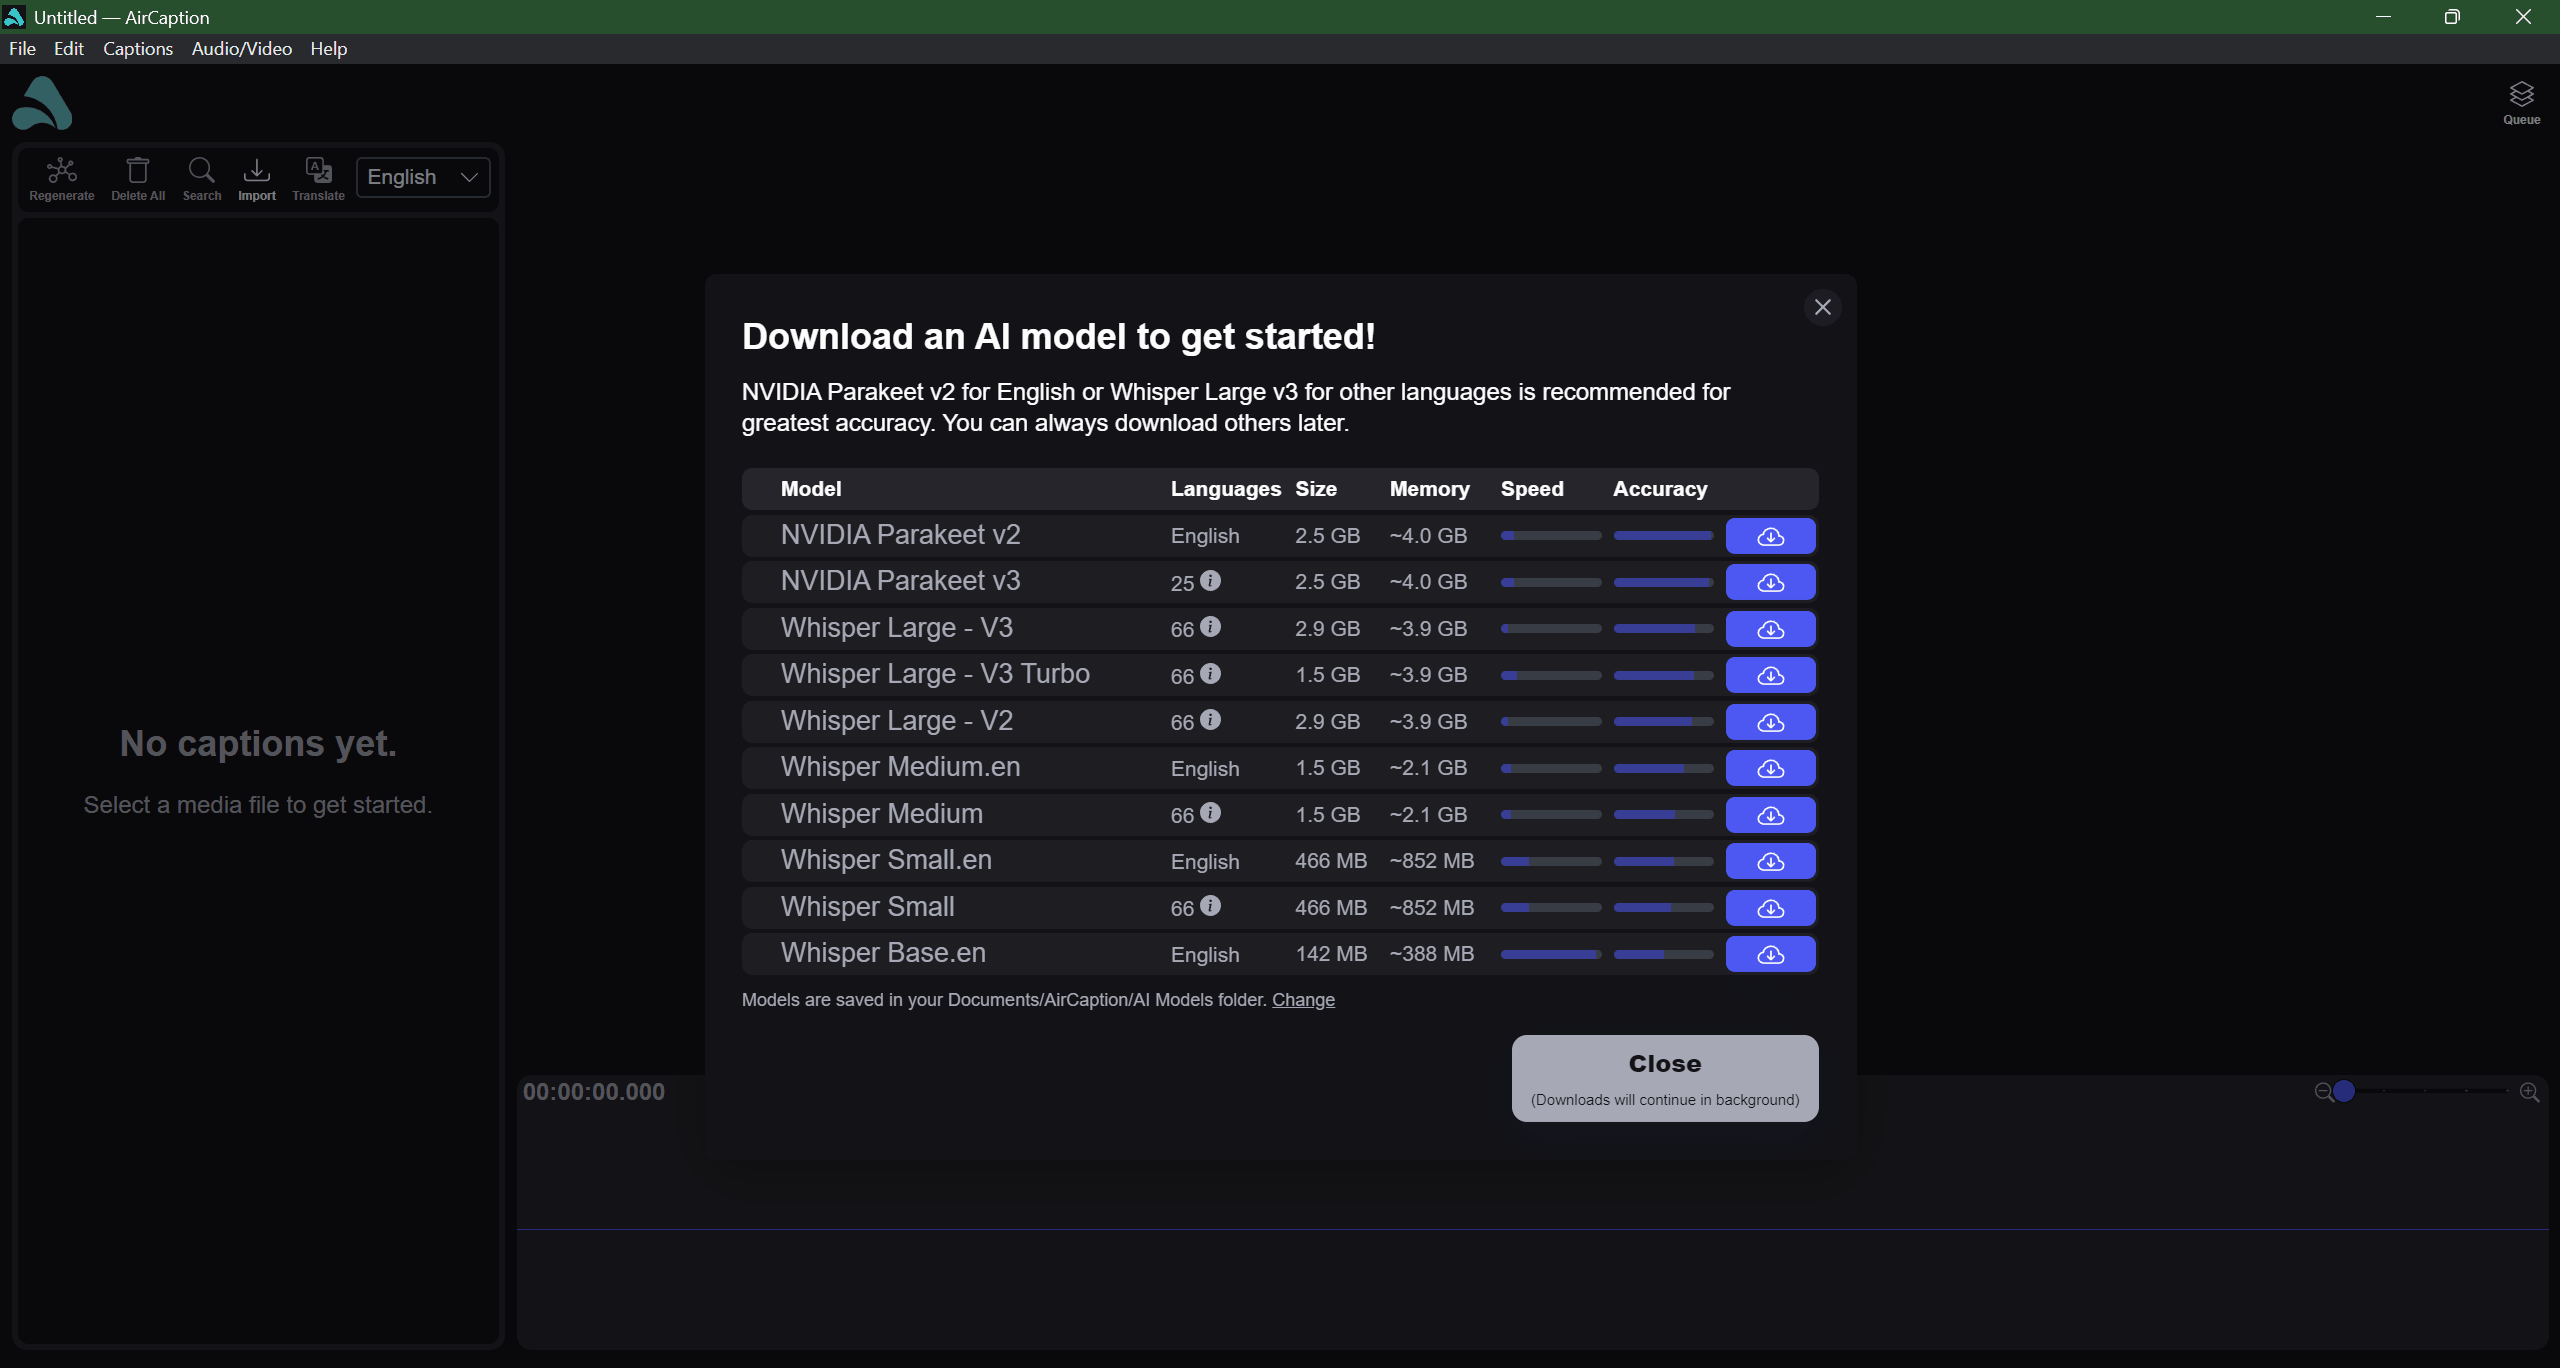
The Download AI model window opens automatically on first launch, because the application ships without a model. This is the step that downloads Whisper itself.
Each row shows a pair of bars for relative speed and accuracy, alongside the model's languages and download size. The Whisper models are named for their size: Base, Small, Medium, Large-V3 and Large-V3 Turbo. If you are unsure which to take, see the model comparison below. Whisper Small is a sound first choice.
Models are saved to your Documents/AirCaption/AI Models folder. Click
Change to store them elsewhere — an external drive is a reasonable location
for the largest ones. Downloads continue in the background, so click Close
and open your file while the download completes.
Part 2: Transcribe your first file
Open your audio or video file
Drag the file onto the window, or use File → Open… (Cmd+O, or Ctrl+O on
Windows).
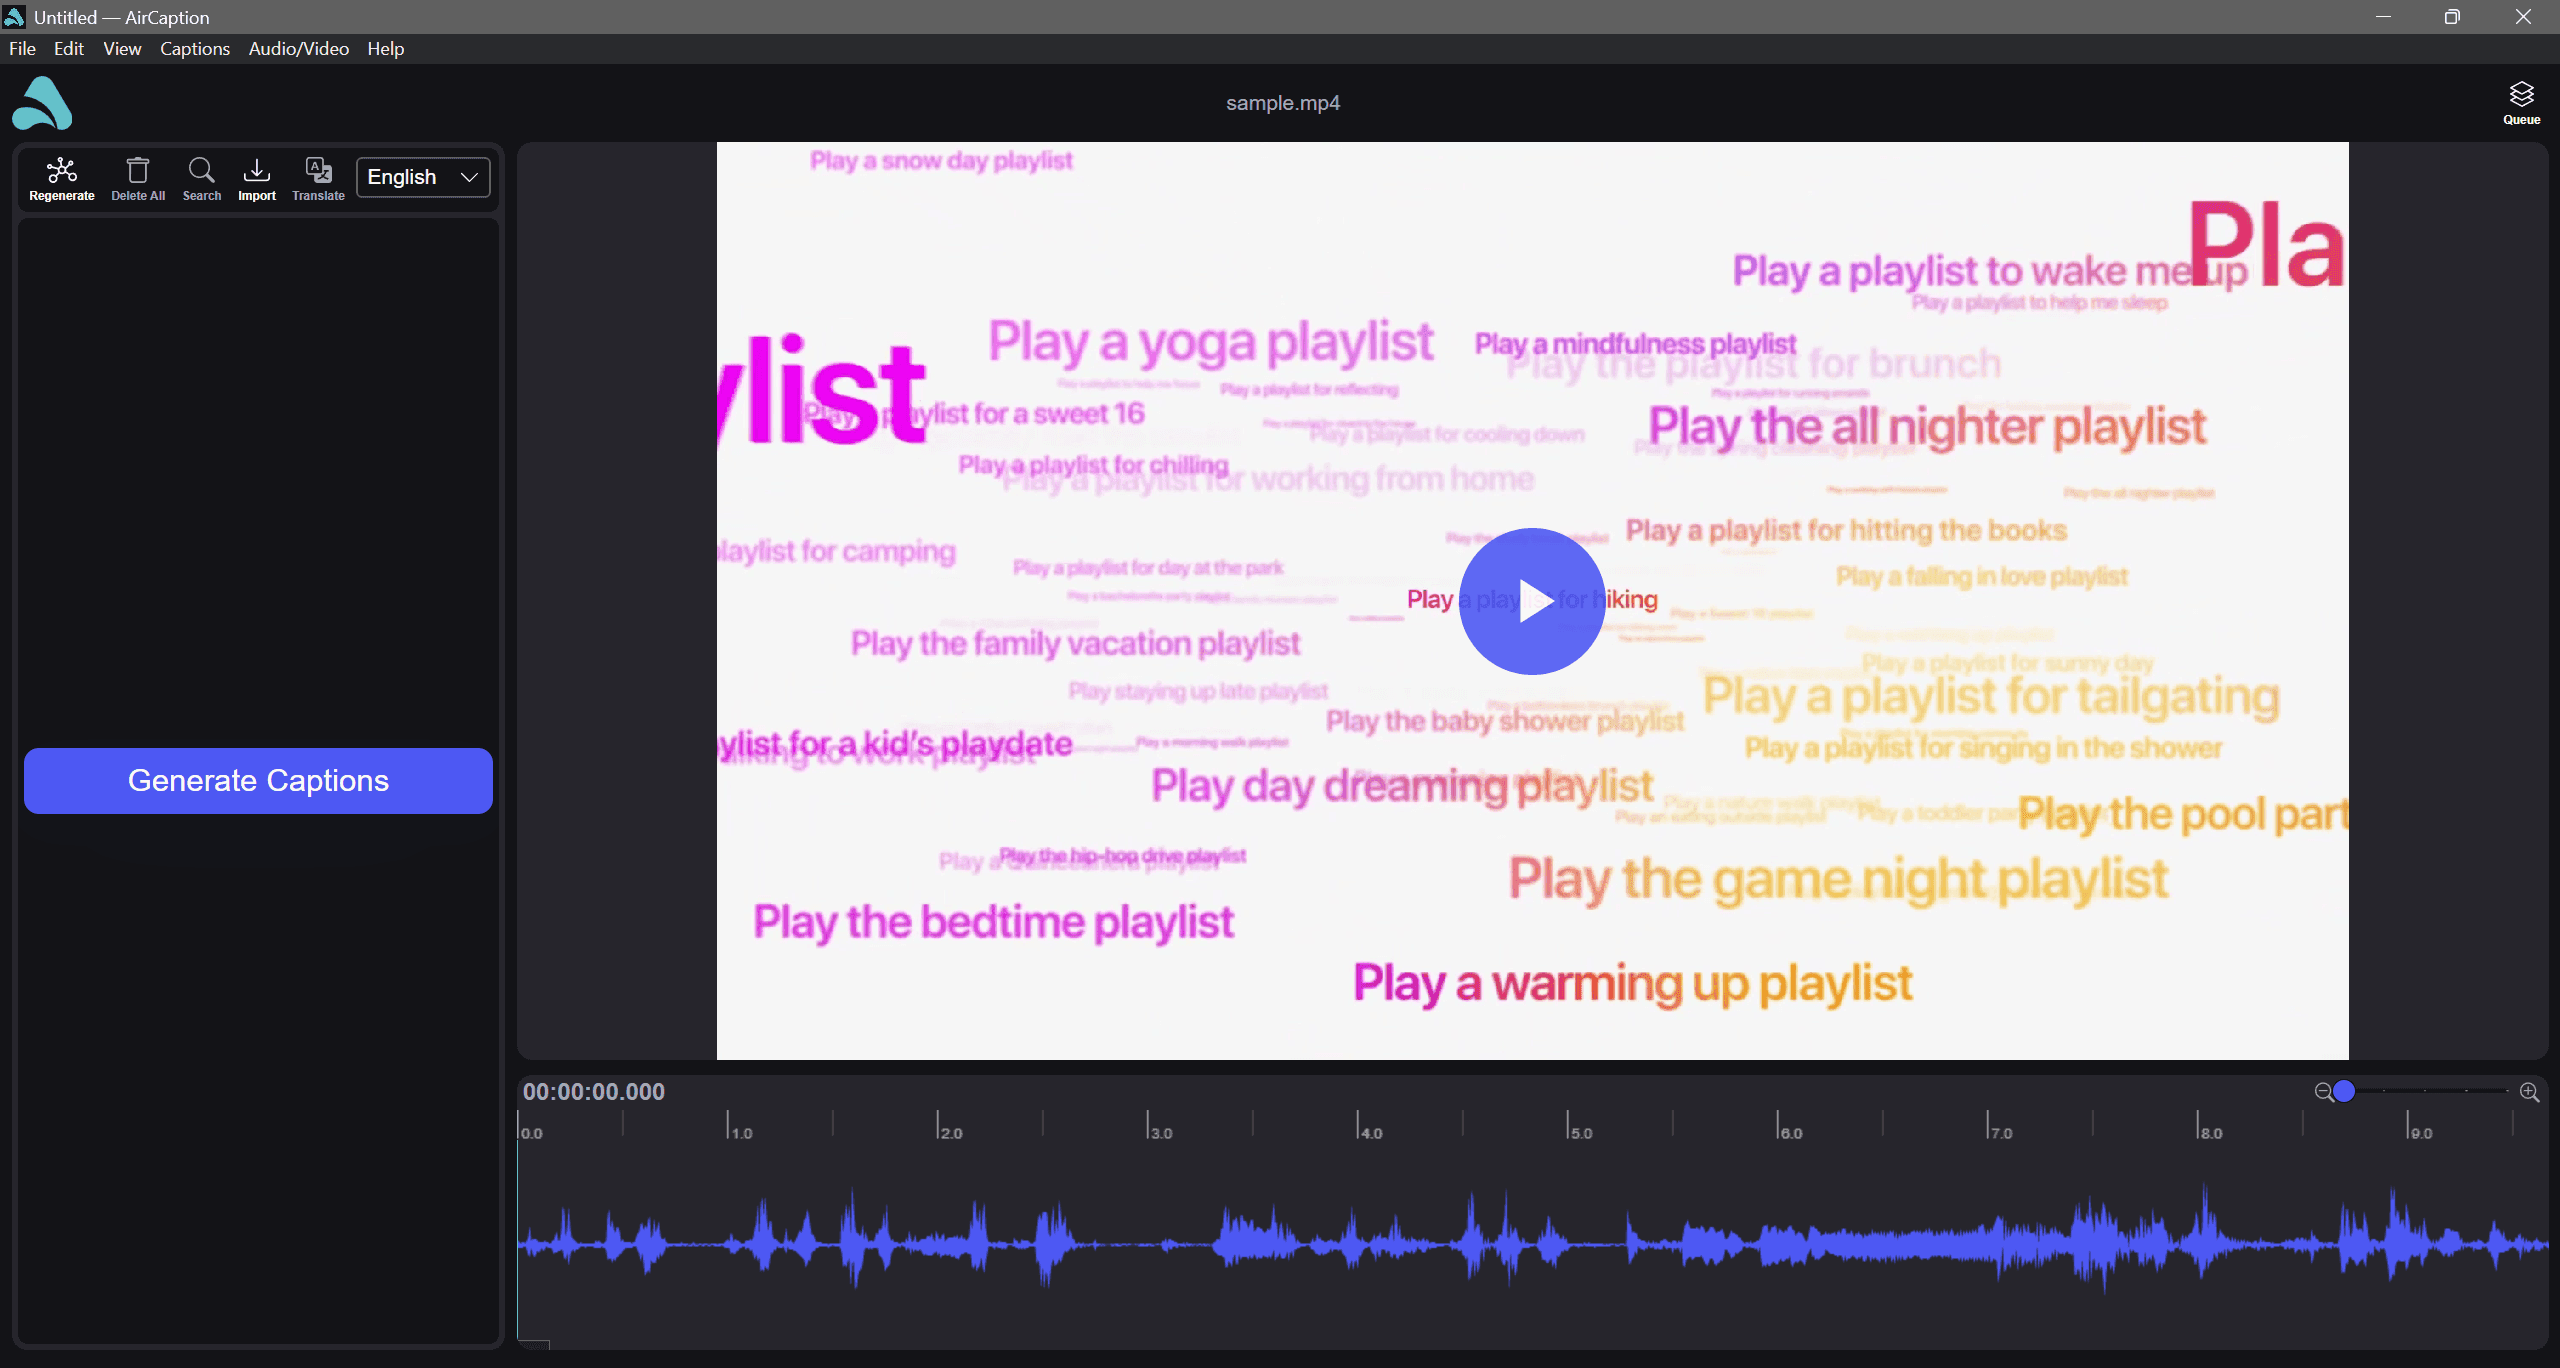
The player appears on the right and the waveform along the bottom. There is no upload step: the file is already on your computer and it stays there.
AirCaption will ask which language is spoken in the file. Set this correctly. Whisper depends on it, and an incorrect language setting is the most common cause of an unusable transcript.
Select Whisper in the job settings
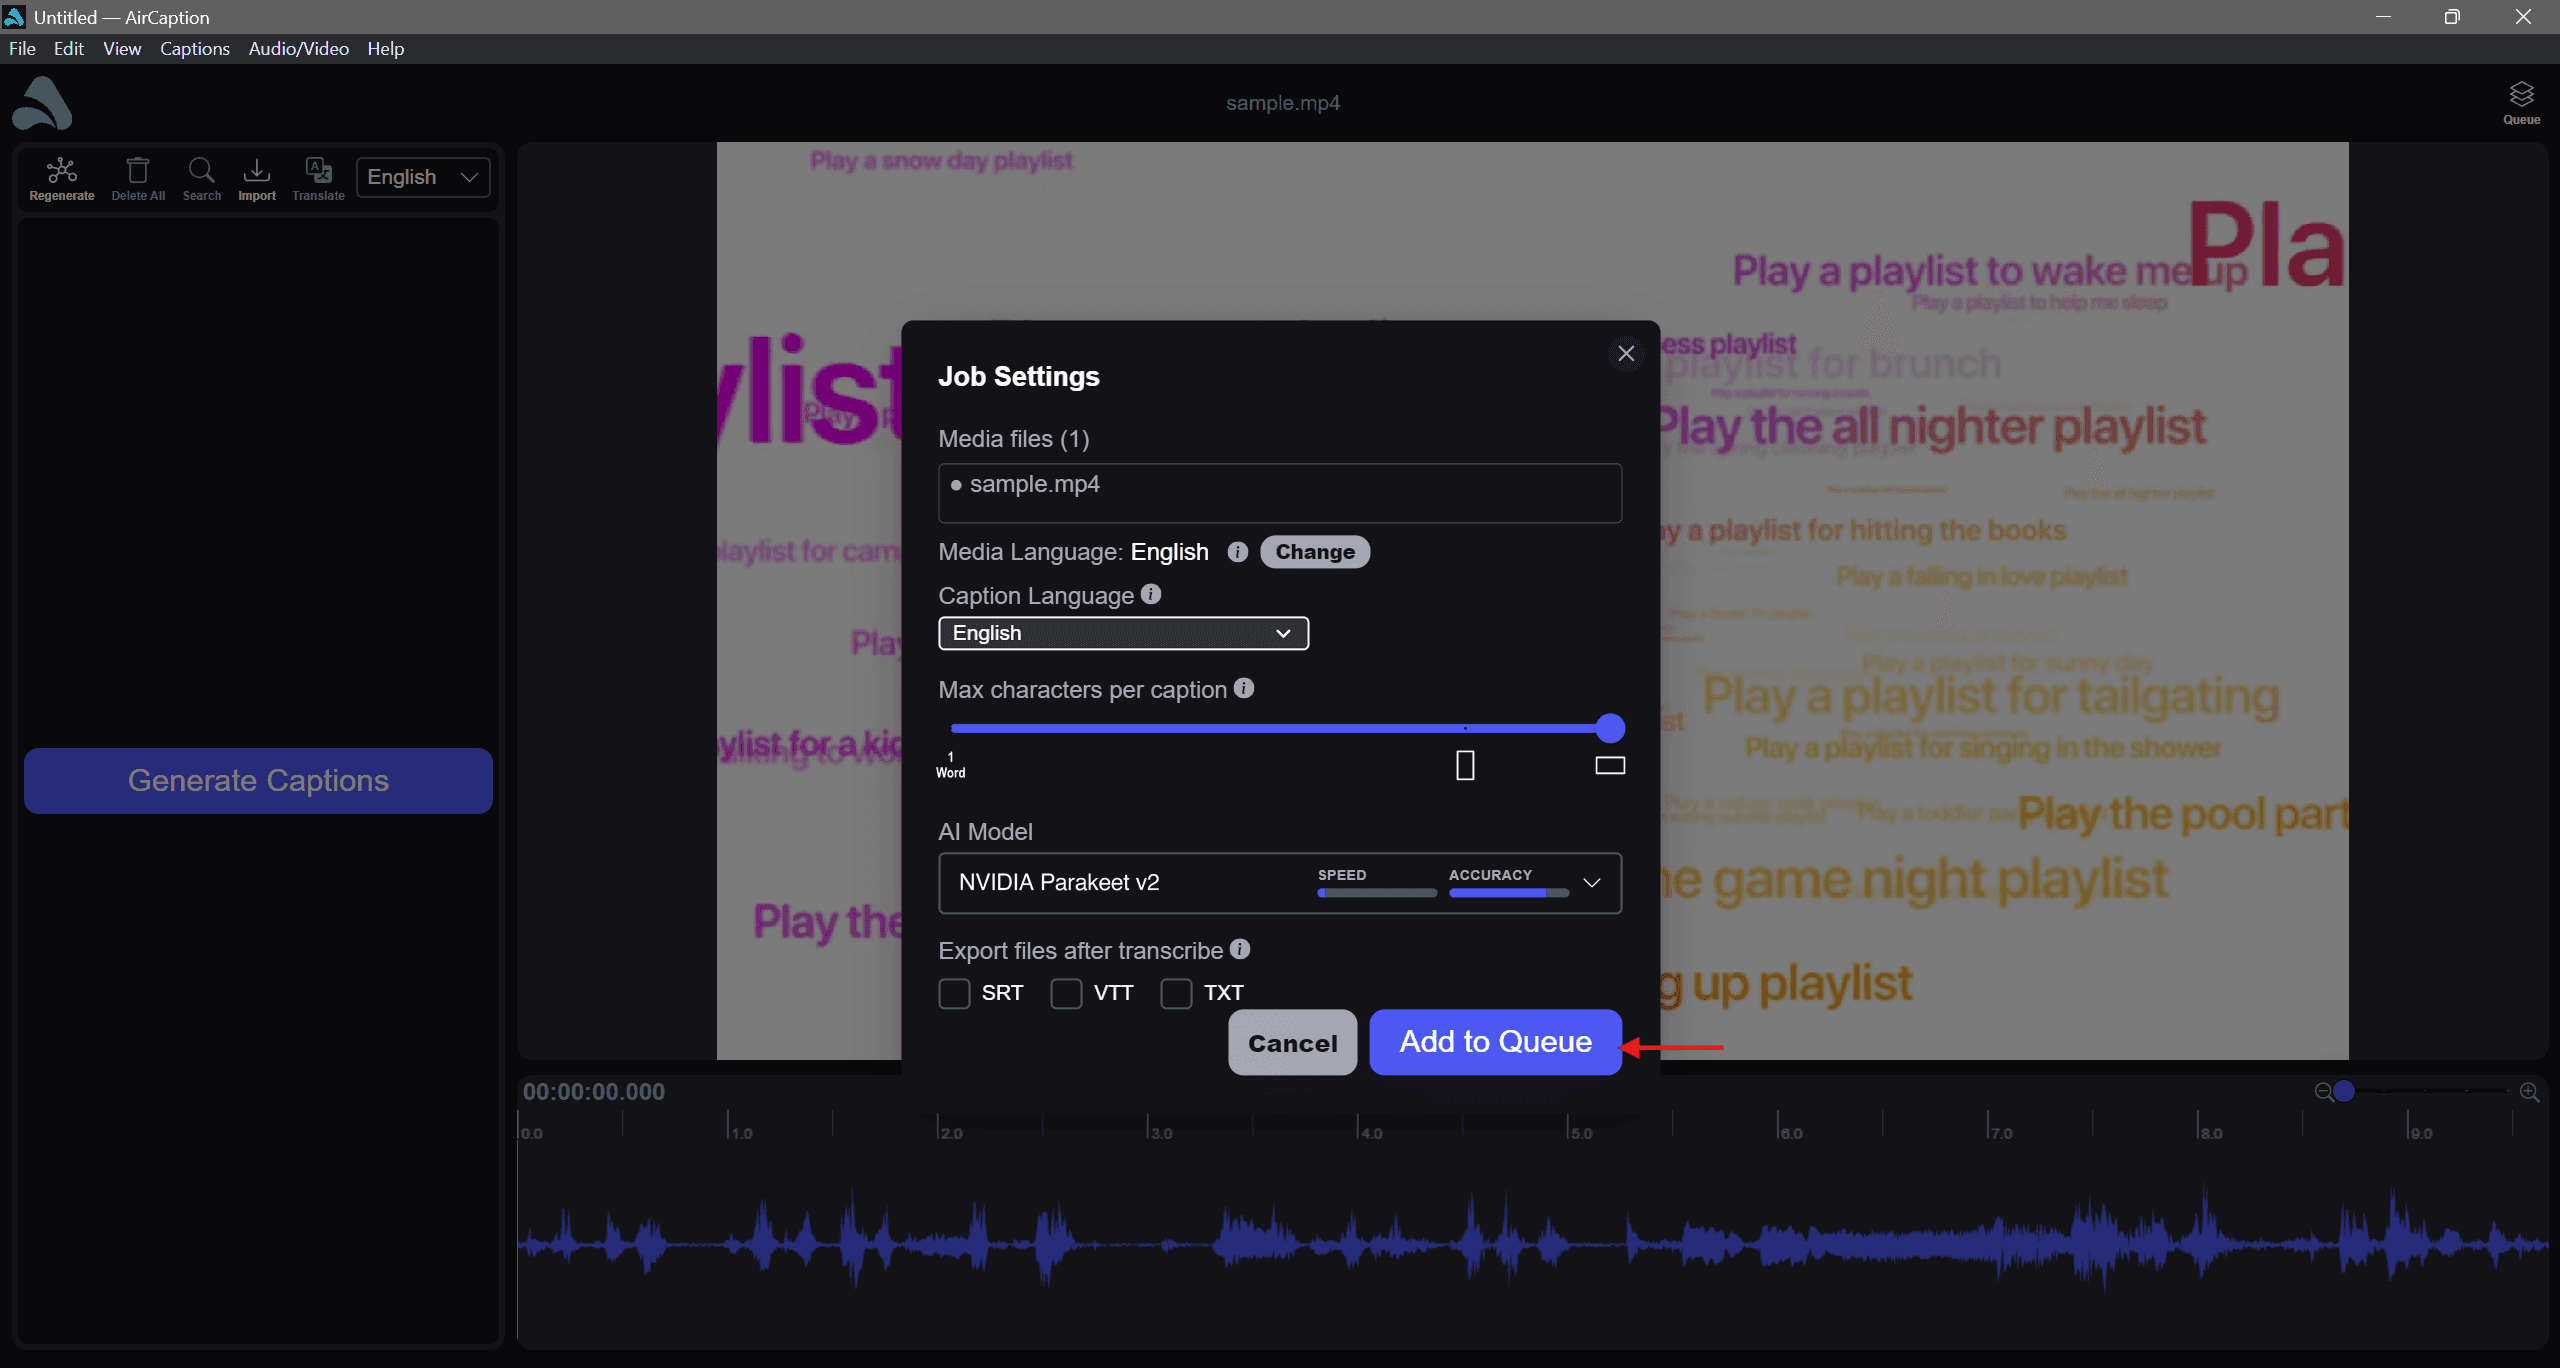
Click Generate Captions to open Job Settings. Three fields are worth reviewing:
- Media Language — the language actually spoken in the file. Click Change if it is incorrect.
- AI Model — the Whisper model you downloaded in step 2.
- Max characters per caption — the maximum length of each caption line. It has no effect on a plain transcript; 42 suits widescreen video and 32 suits vertical.
Leave Export files after transcribe unticked for now, so you can review the text before saving anything.
Click Add to Queue.
Run the transcription
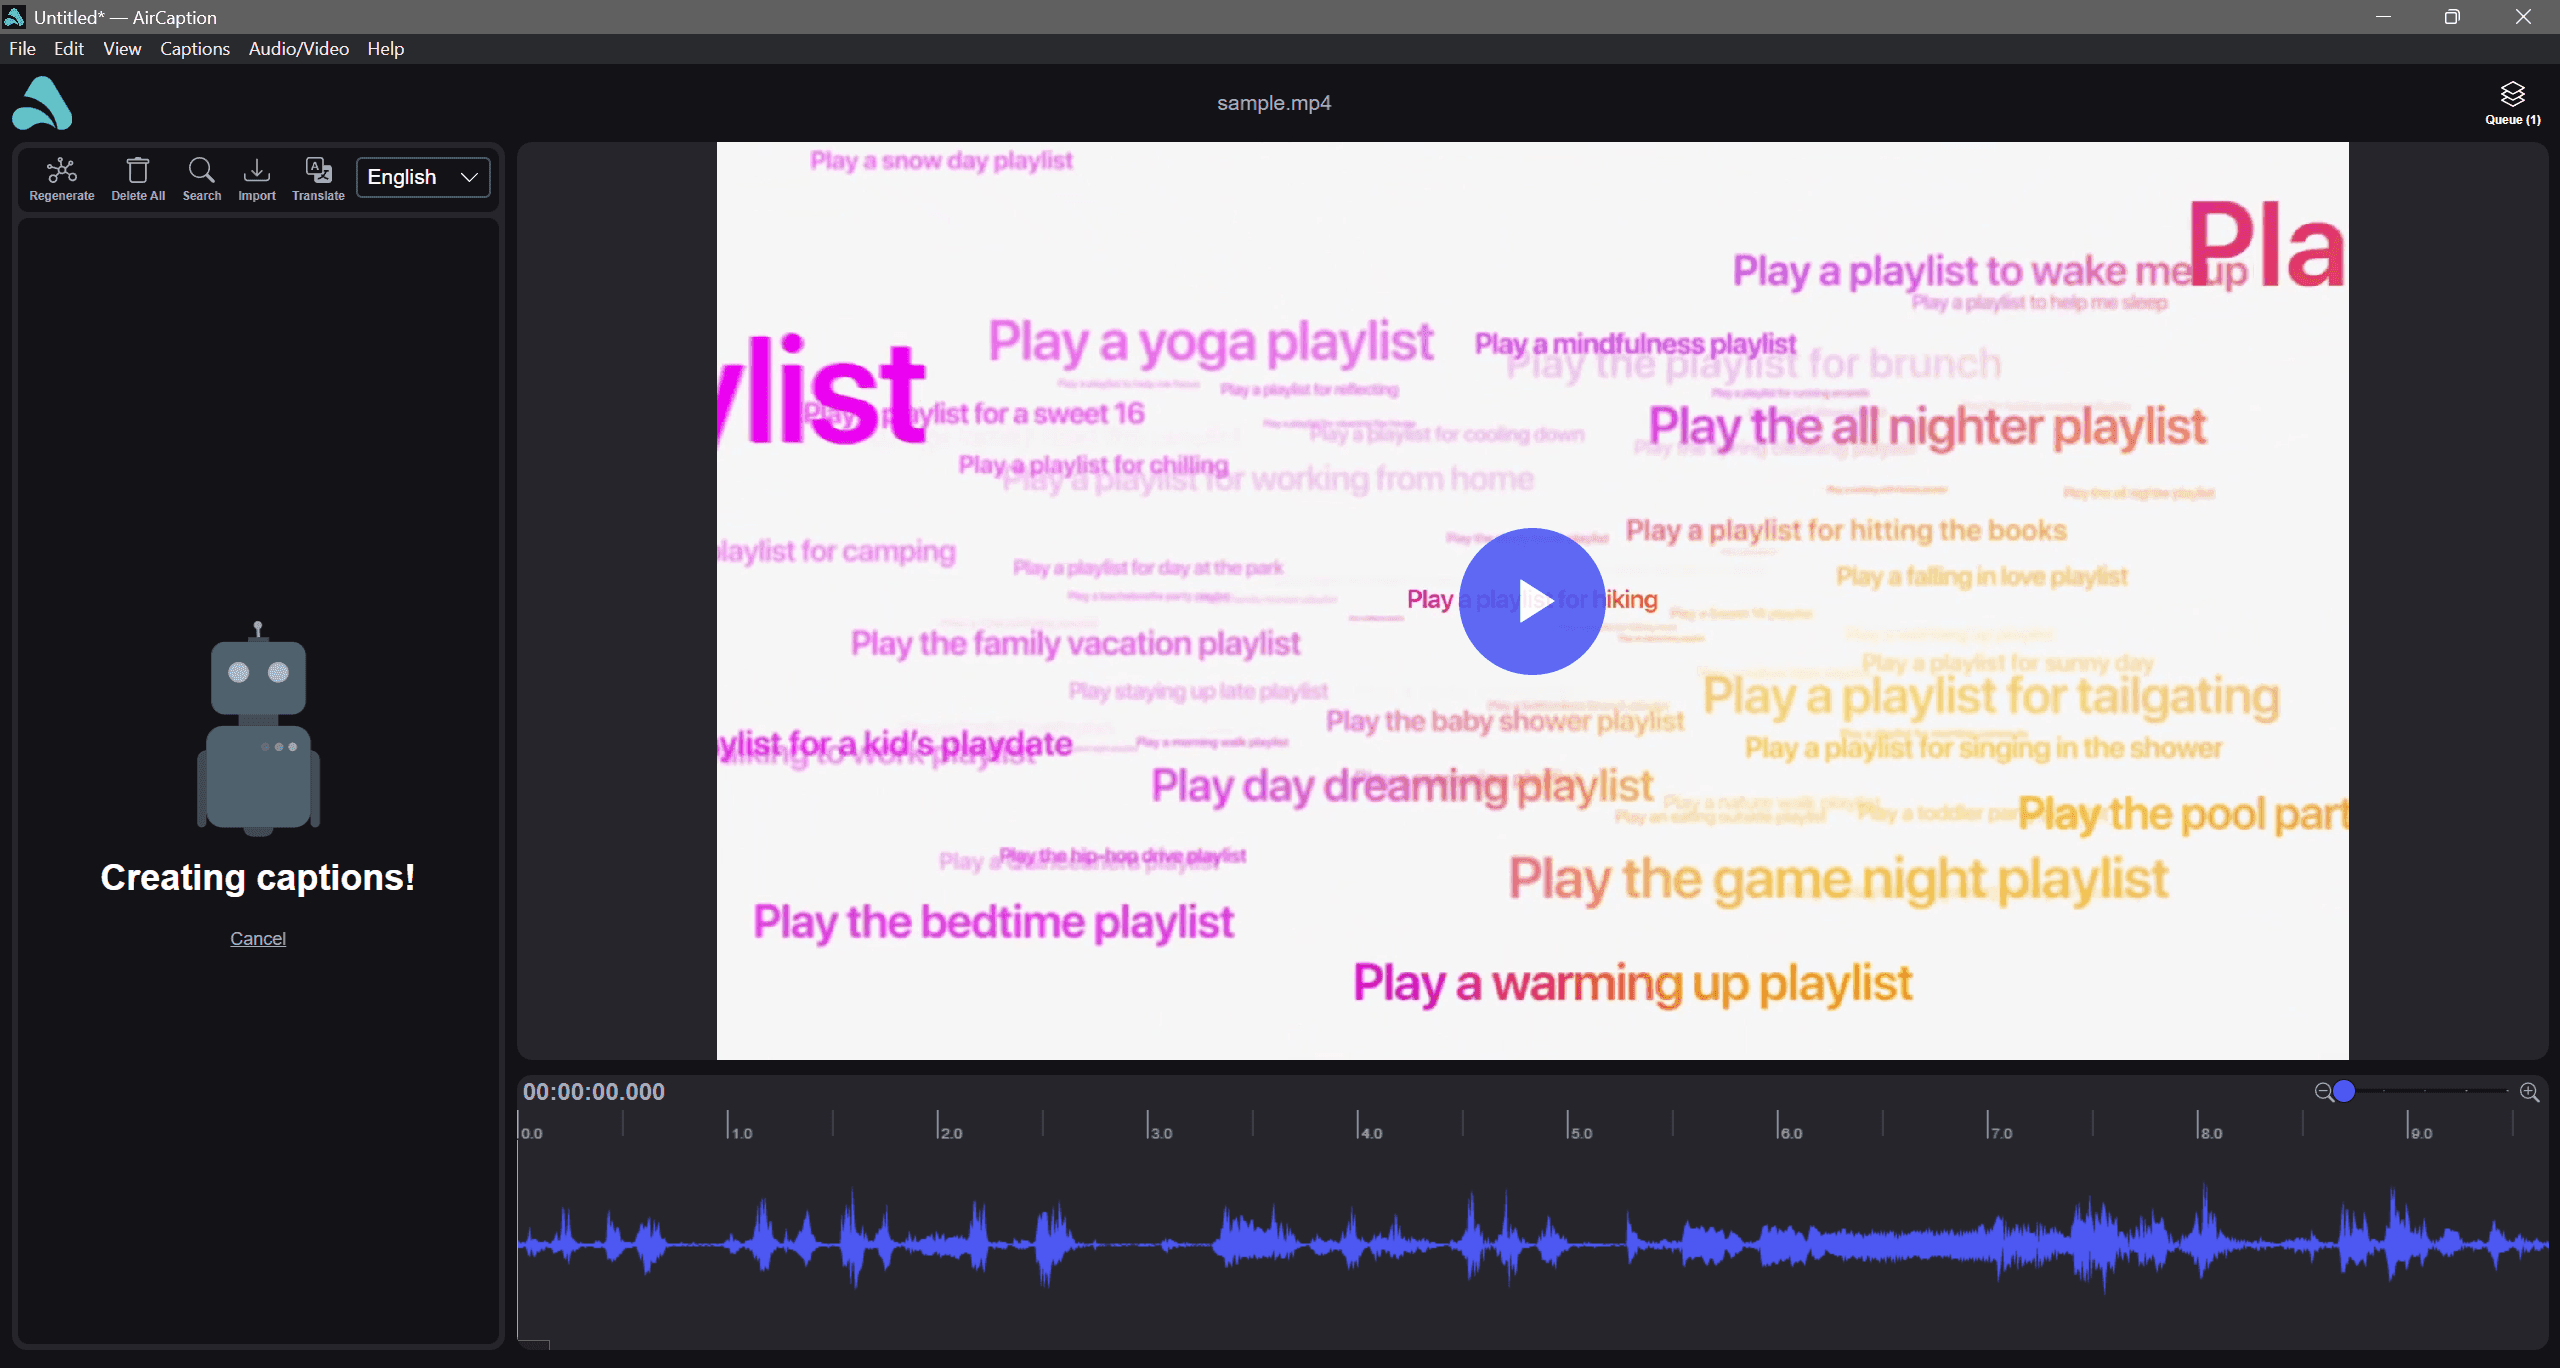
The model runs on your own processor or GPU, so the time required depends on your hardware, the model you selected and the length of the file. On an Apple Silicon Mac, a ten-minute file takes a few minutes with Large-V3 and well under a minute with one of the small models. An NVIDIA GPU is several times faster than the same machine's CPU.
Text appears in the left panel as it is produced, so you can begin reviewing and correcting before the job finishes.
Part 3: Edit the transcript and save
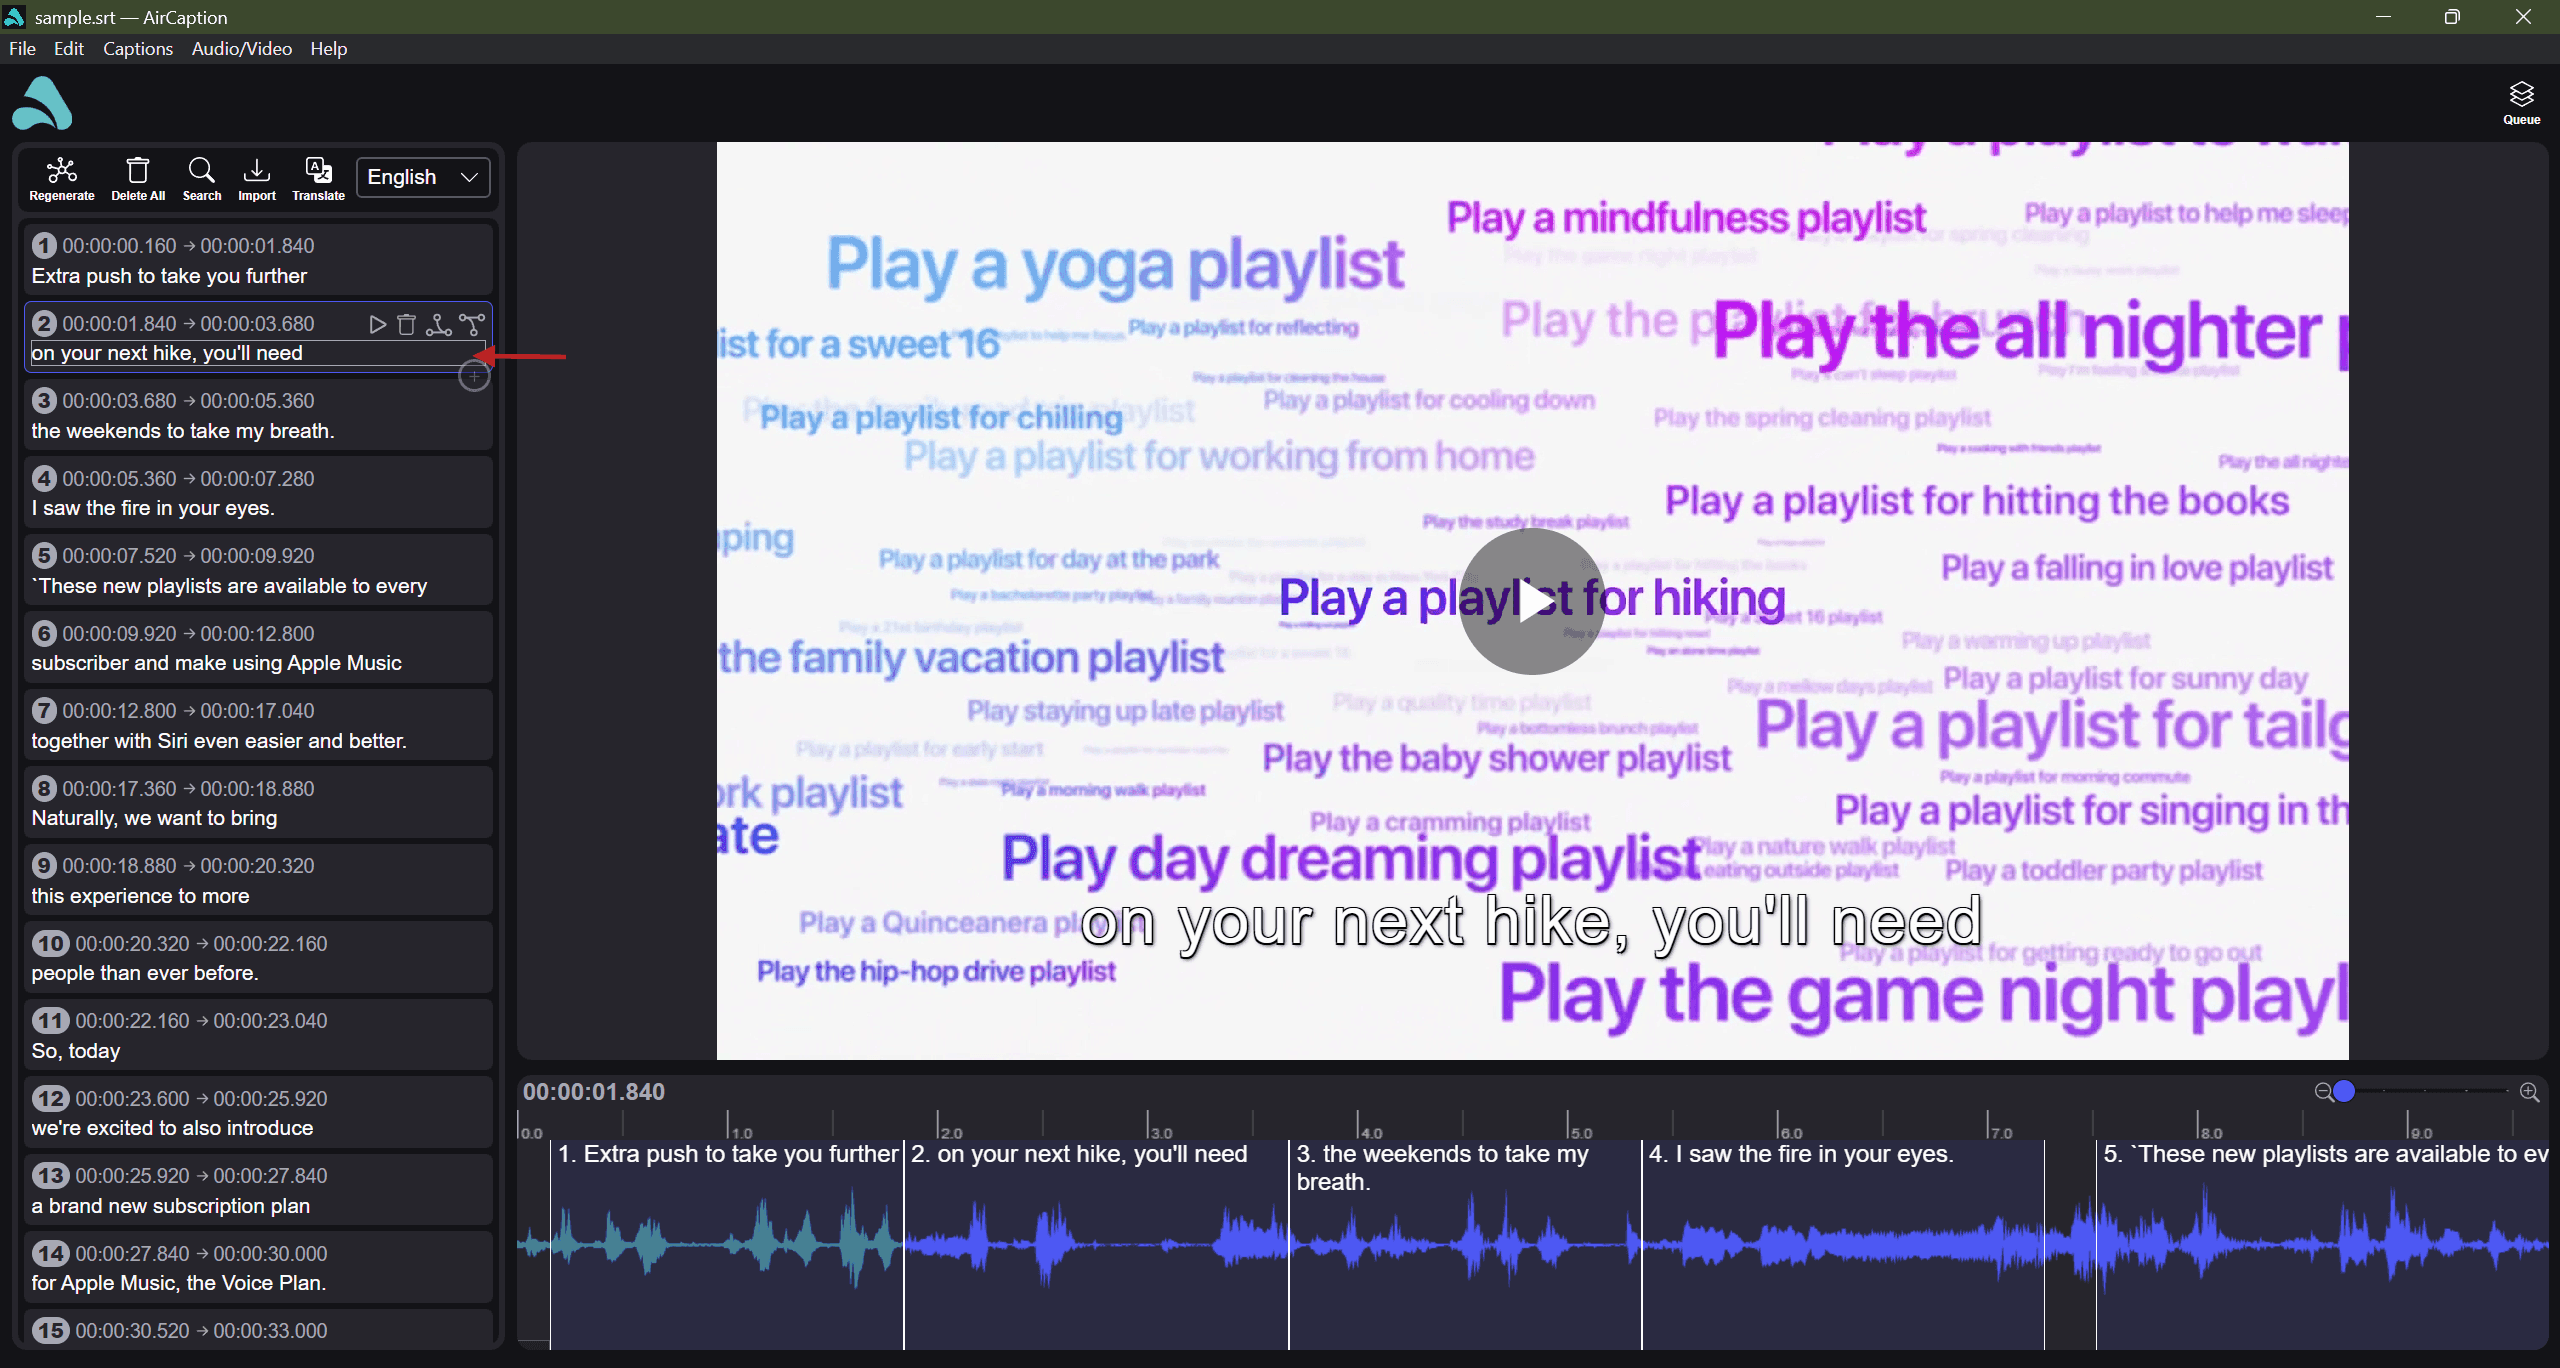
Correct the text
Whisper is accurate but not perfect. Expect to correct proper nouns, technical vocabulary, acronyms and passages where two speakers overlap.
Click any line to edit it. A few shortcuts cover most of the work:
Spaceto play and pause↑and↓to move between linesCmd+F(Ctrl+F) for Find and Replace — the fastest way to correct a name the model misheard throughoutCmd+Z(Ctrl+Z) to undo
This step is what separates a usable transcript from a raw one, and it is the reason the whole process takes minutes rather than an hour.
Adjust the timing
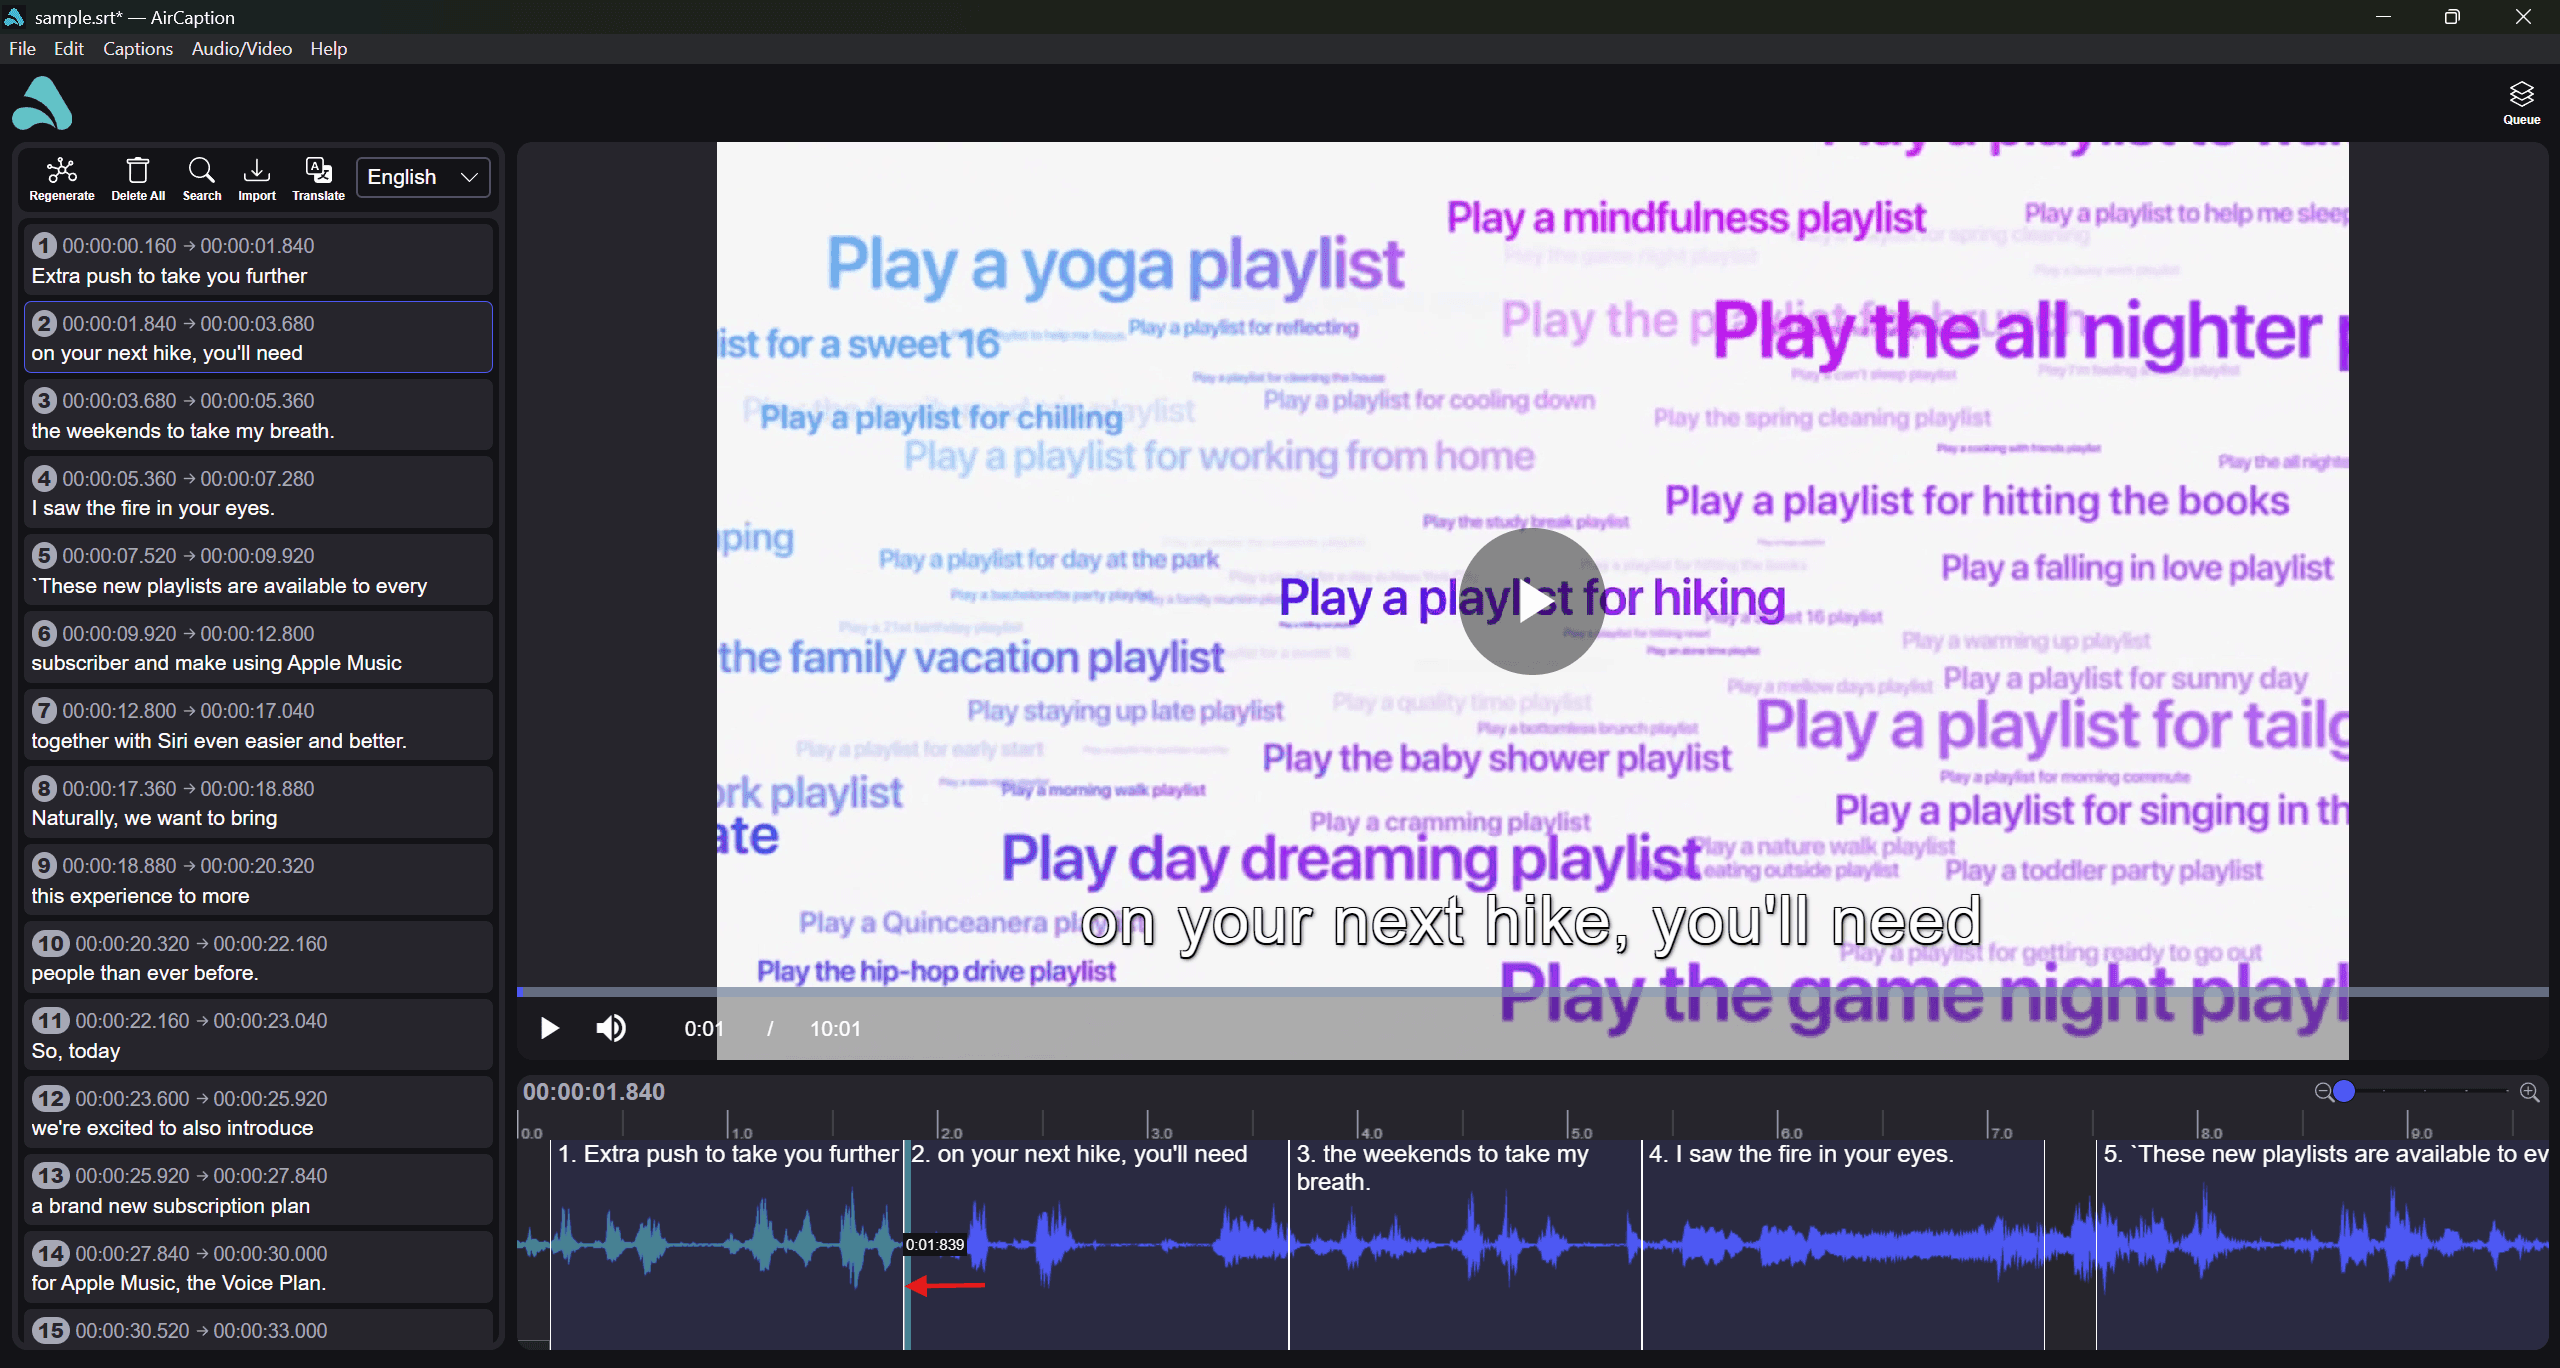
Skip this step if you only need a plain transcript. Timings matter only for subtitles.
Otherwise, drag a caption's left or right edge on the waveform until it aligns
with the speech, or click a timecode in the list and enter an exact time.
Hovering over a caption reveals Play (Ctrl+P), Split (Ctrl+K),
Merge (Ctrl+M) and Delete (Ctrl+-).
Save your transcript or subtitle file
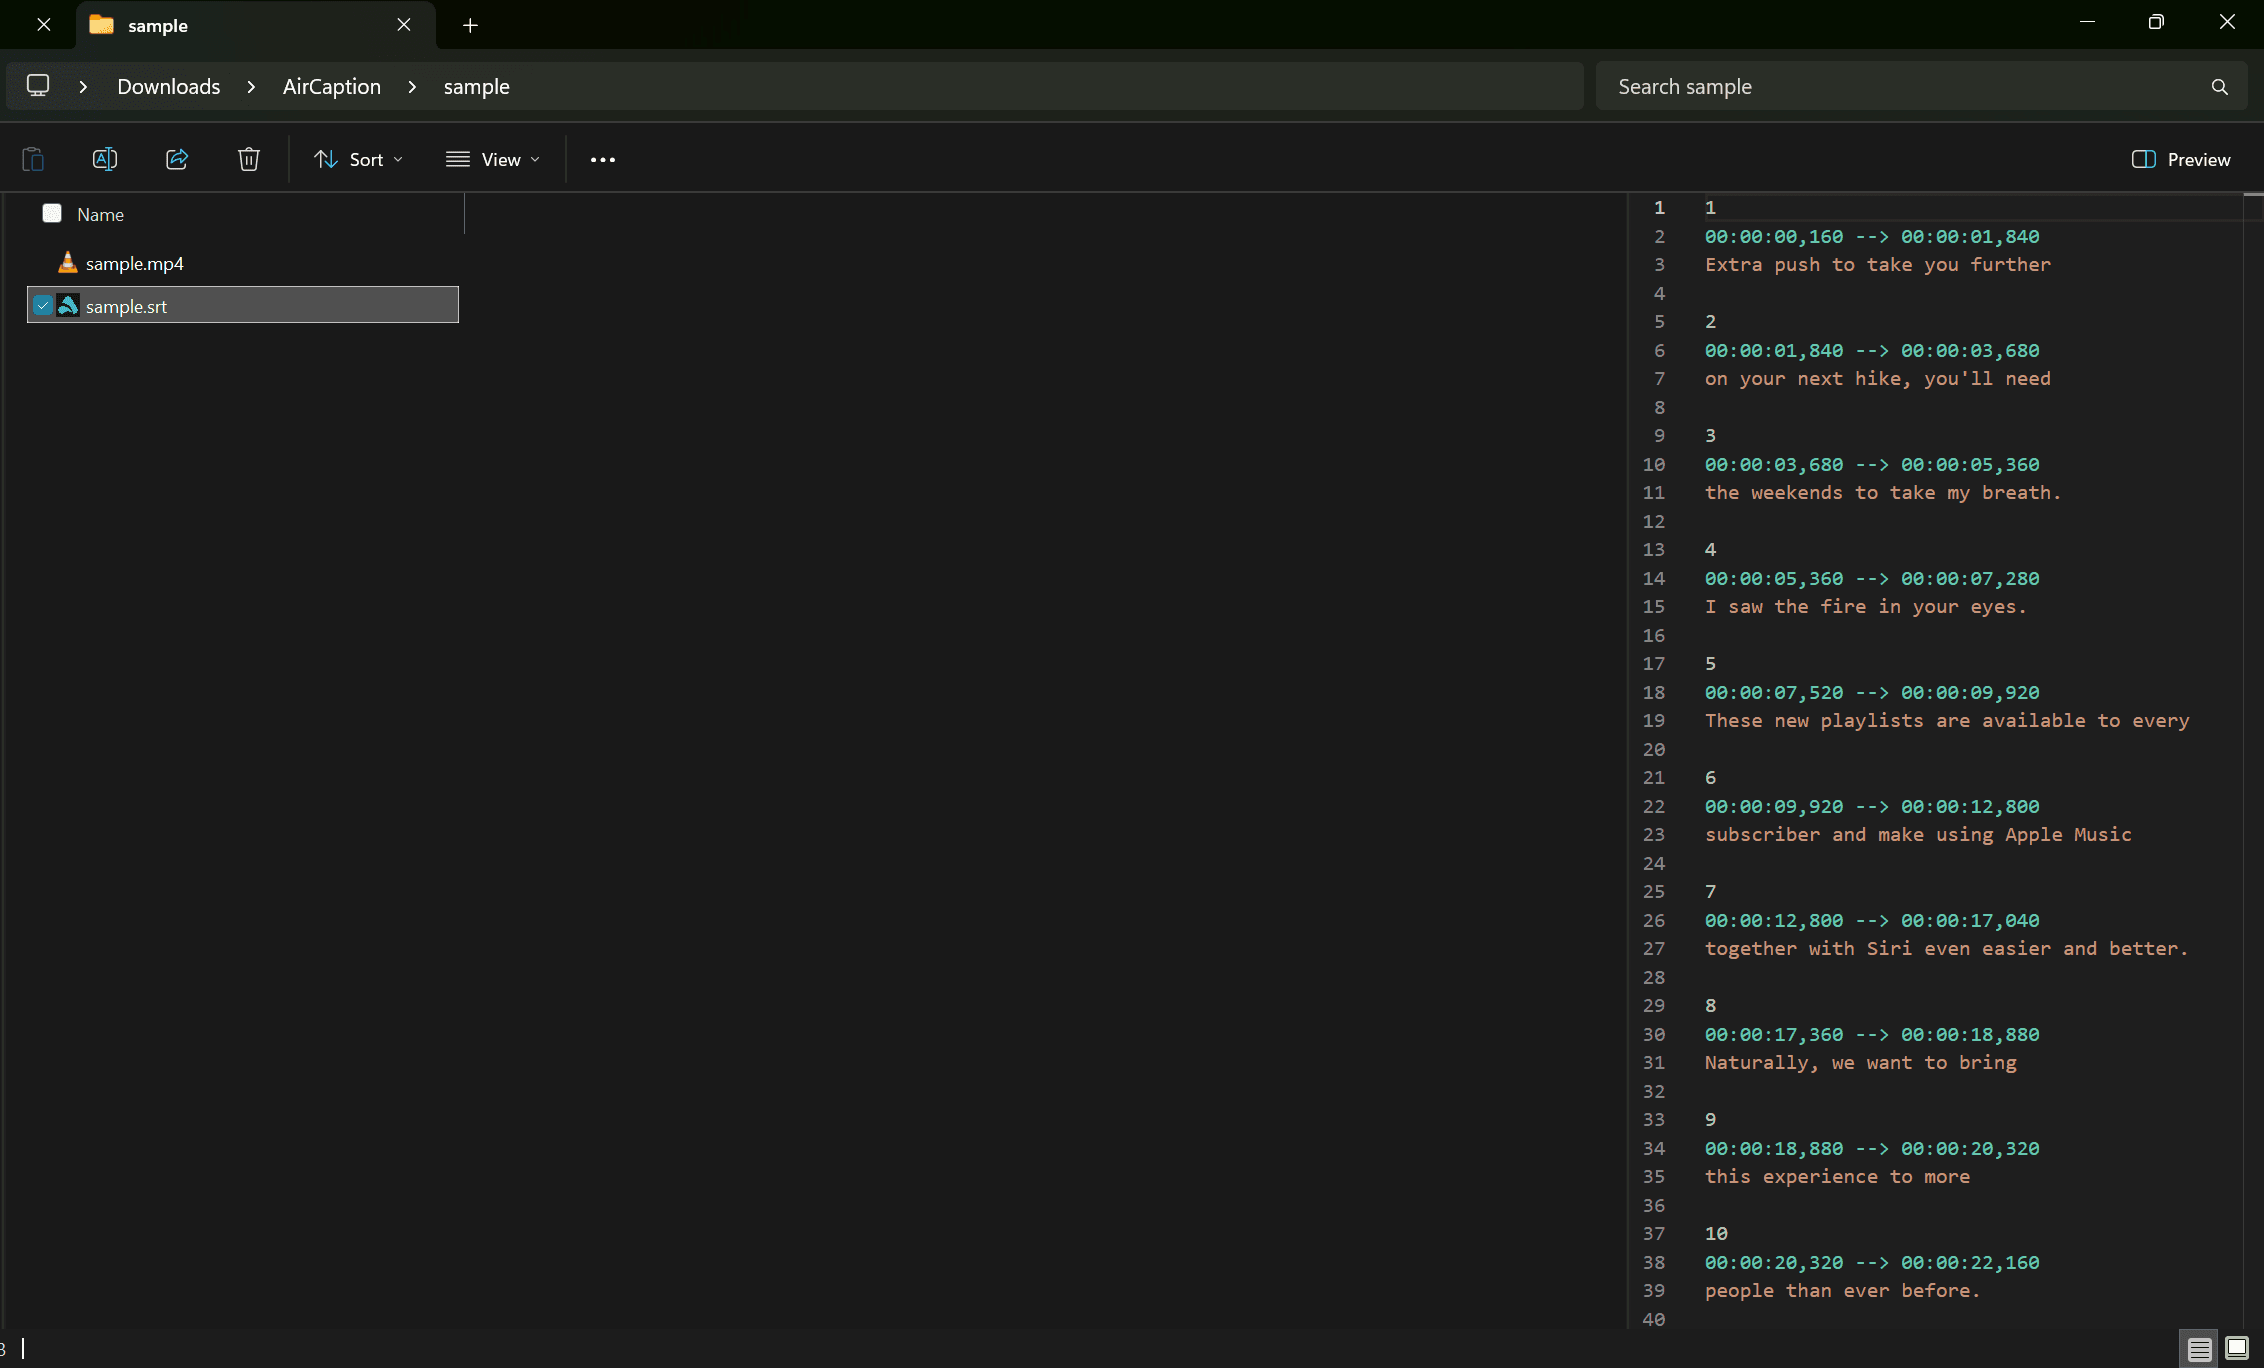
Press Cmd+S (Ctrl+S) to write an .srt file beside your media, named to
match — interview.mp4 produces interview.srt. Subtitle files are opened and
saved directly, the way a text editor opens a document, so there is no separate
export step for them.
For a plain transcript with no timecodes, use File → Export (Cmd+E /
Ctrl+E) and choose TXT. The same menu exports a copy of the video with the
subtitles burned into the picture, for platforms that do not accept subtitle
files.
Which Whisper model should you download?
Mostly this is a question of size, which trades speed against accuracy. Larger models make fewer mistakes and take longer to do it.
- Base — the fastest by a wide margin, and the least accurate. Worth it when you want a rough, searchable transcript in a hurry and expect to correct it heavily.
- Small — clearly more accurate than Base at around half the speed. The best starting point if you are unsure.
- Medium — another real step up in accuracy, and several times slower than Small.
- Large-V3 Turbo — close to Large-V3's accuracy in a fraction of the time. The best balance among the large models, as long as you don't need translation.
- Large-V3 — the most accurate Whisper model, at roughly 6.5% word error rate on clean English, and the slowest.
A name ending in .en means the model handles English only, and those are
slightly more accurate on English than the multilingual model of the same size.
Small and Medium come in both forms; Base is English-only.
Translation is worth checking before you commit to a download. The multilingual models can translate while they transcribe — Spanish audio in, English captions out — but Large-V3 Turbo cannot. It transcribes only, into the language that was spoken. Pick Turbo for its speed and later decide you want a translation, and you will be running the file again on a different model.
A practical approach: start with Small. If the transcript needs more correcting than you would like, move up one. If you are working through hours of audio and the waiting is the problem, move down one.
The download window shows relative speed and accuracy bars for every model beside its download size, so you can weigh them at the moment you choose — and it lists the Parakeet models alongside the Whisper ones, which is the easiest place to act on the recommendation at the top of this guide.
Whisper is now running on your own machine, and you have a finished transcript with nothing uploaded anywhere.
If you want to take it further, the getting started guide goes deeper on the editor, and translating subtitles takes the same file into other languages. If you run into any issues, please let us know.