
Getting Started: Caption Your First Video with AirCaption
AirCaption listens to your video and writes the captions for you, then gives you the tools to correct whatever it got wrong.
This guide takes you from a fresh install to an .srt file sitting next to your
video, ready to upload anywhere that takes subtitles.
What You'll Need
- A Mac or Windows computer. AirCaption is free to download
- A video or audio file.
mp4,mov,mkv,mp3,wav,m4aand most other common formats - About ten minutes. There is no account to create
Part 1: Install AirCaption
Download AirCaption for your computer
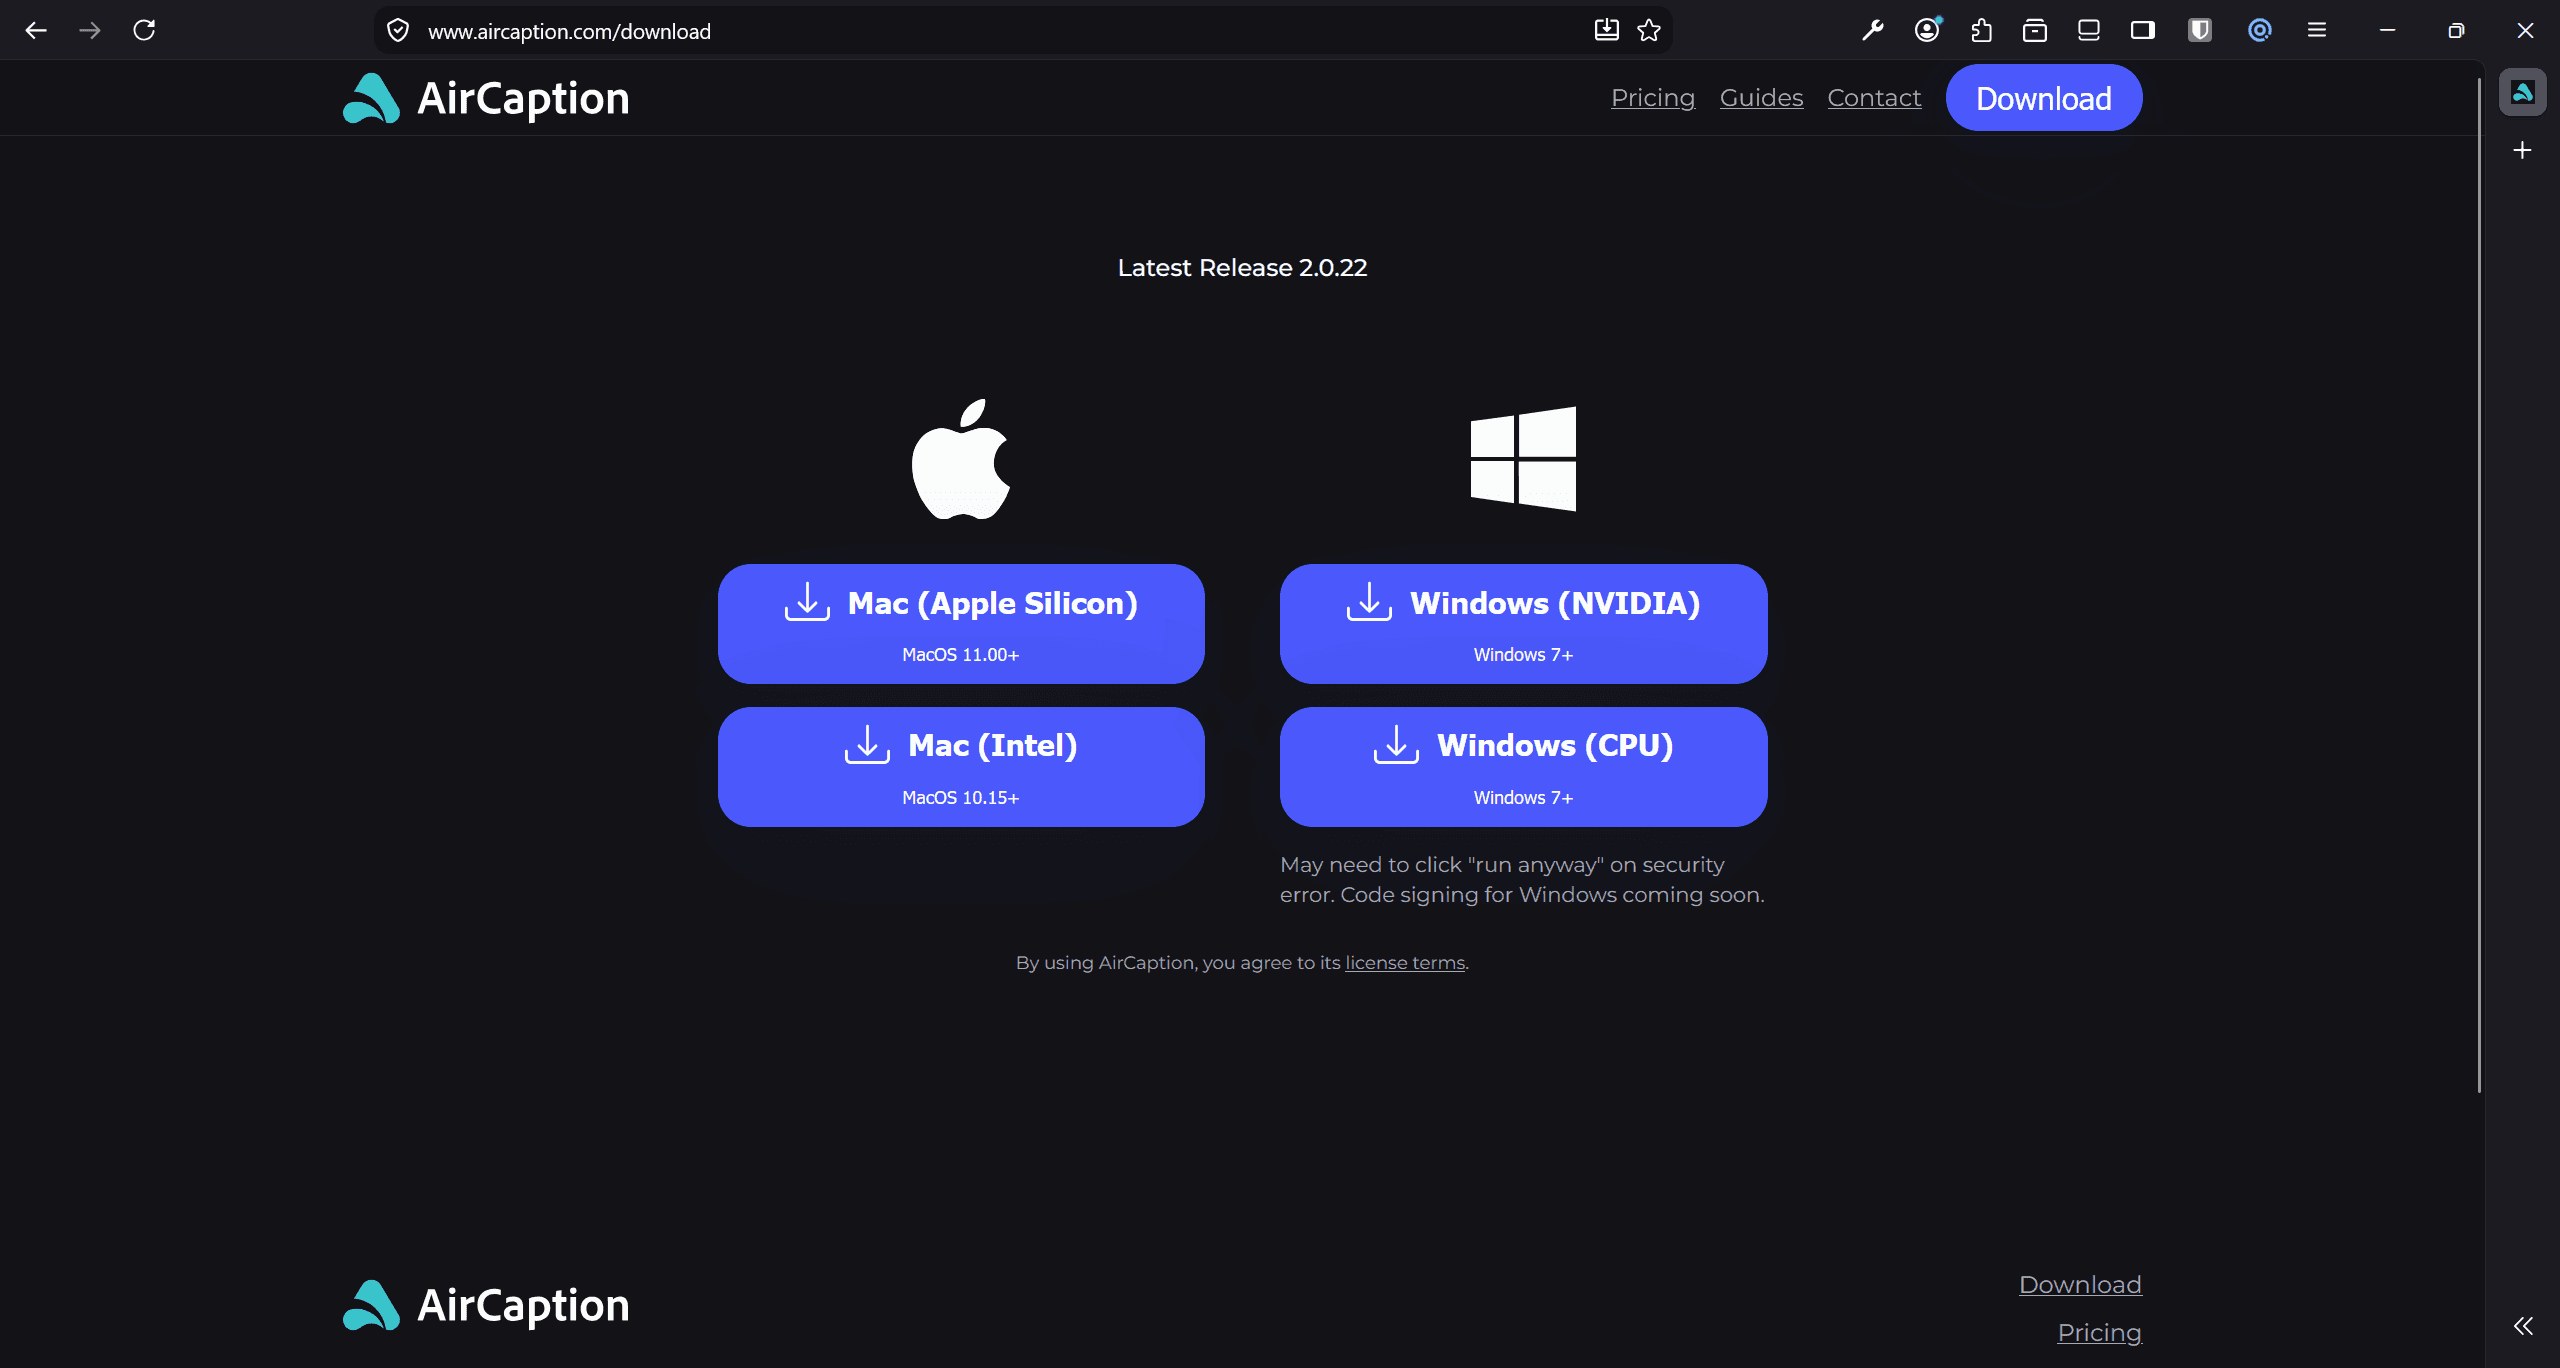
Go to the download page. There are three downloads, and you only need one.
- On a Mac, pick Mac (Apple Silicon) for an M-series Mac or Mac (Intel) for an older one.
- On Windows, pick Windows. There is a single build, and it runs on any machine.
Open it and accept the terms
The first time you open AirCaption it shows the AirCaption Software License Terms of Use. Read it, tick I have read and agree to the AirCaption Software License Terms of Use, and click Continue.
That's it. There is no account to create and no email to hand over.
Download an AI model
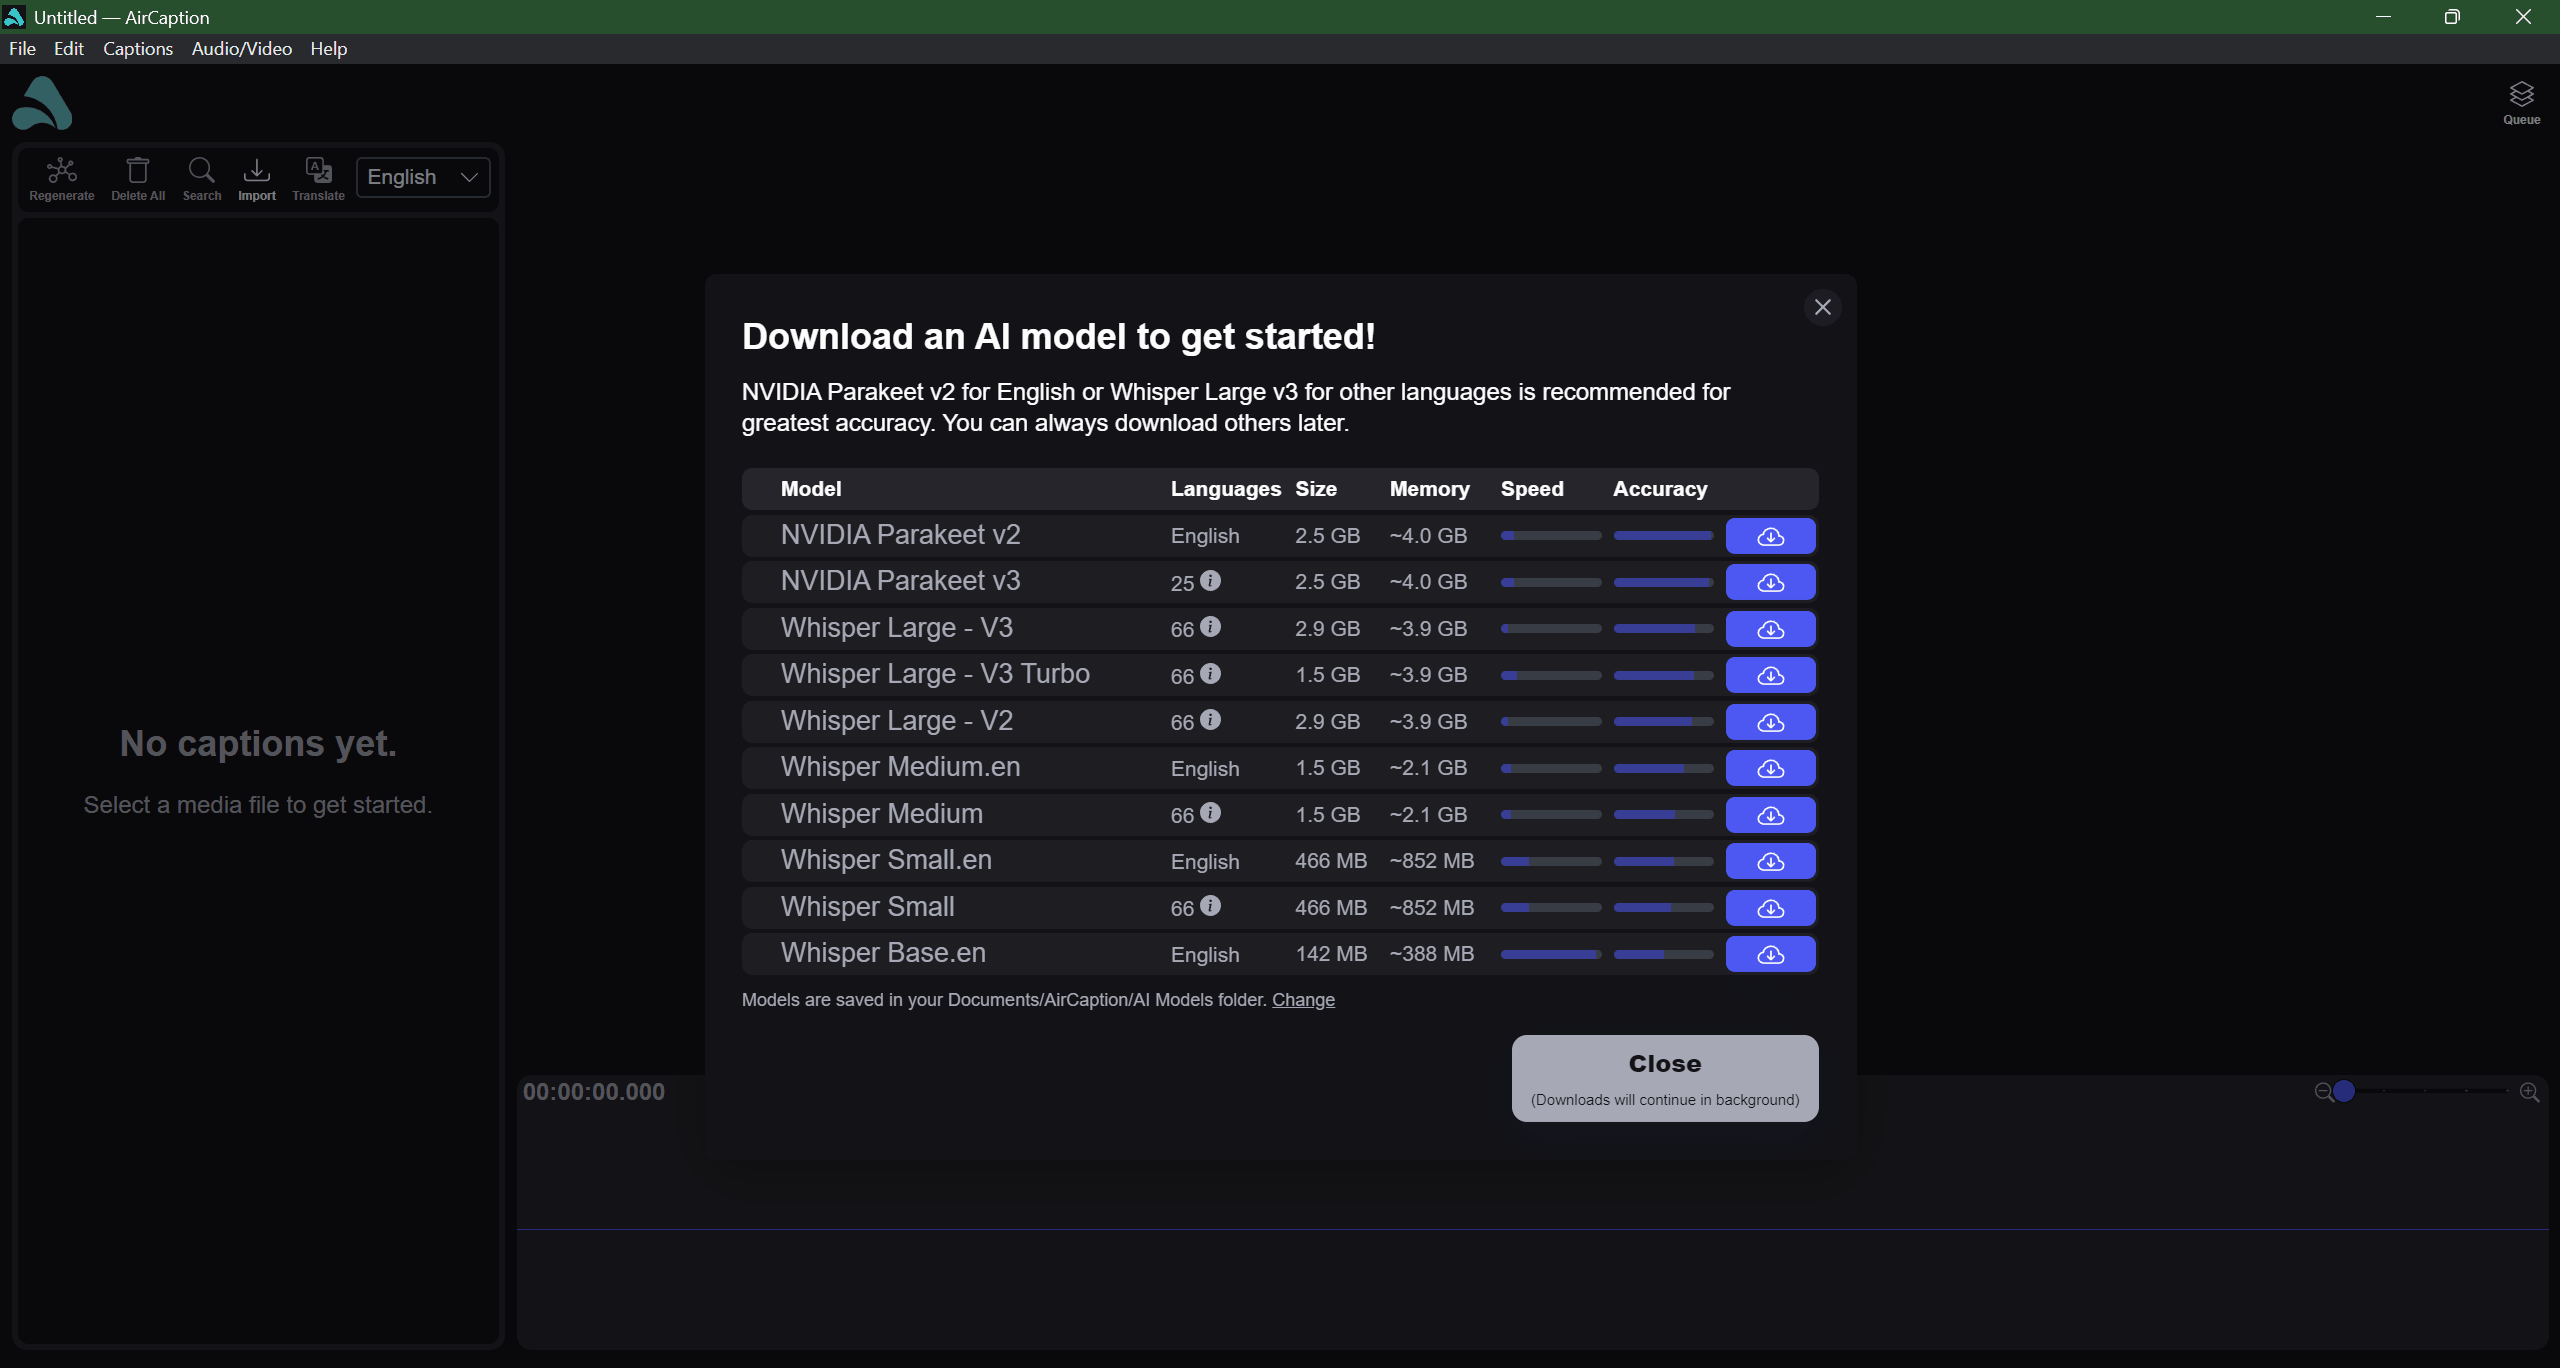
The Download AI model window opens automatically. This is the AI that turns speech into text, and it runs on your own computer, so it has to be downloaded before you can transcribe your media.
We recommend NVIDIA Parakeet v2 for English, or Whisper Large - V3 for other languages. The table lists each model's languages, download size and memory use alongside bars for its relative speed and accuracy, so you can choose the right speed/accuracy tradeoff for your application.
Models are saved to your Documents/AirCaption/AI Models folder by default. Click Change
to save them elsewhere. Click Close once a download starts and it
will continue in the background while you open your video.
Part 2: Caption your first file
Open your video or audio
Drag your file into the window, click to browse, or use File →
Open… (Ctrl+O, or Cmd+O on a Mac).
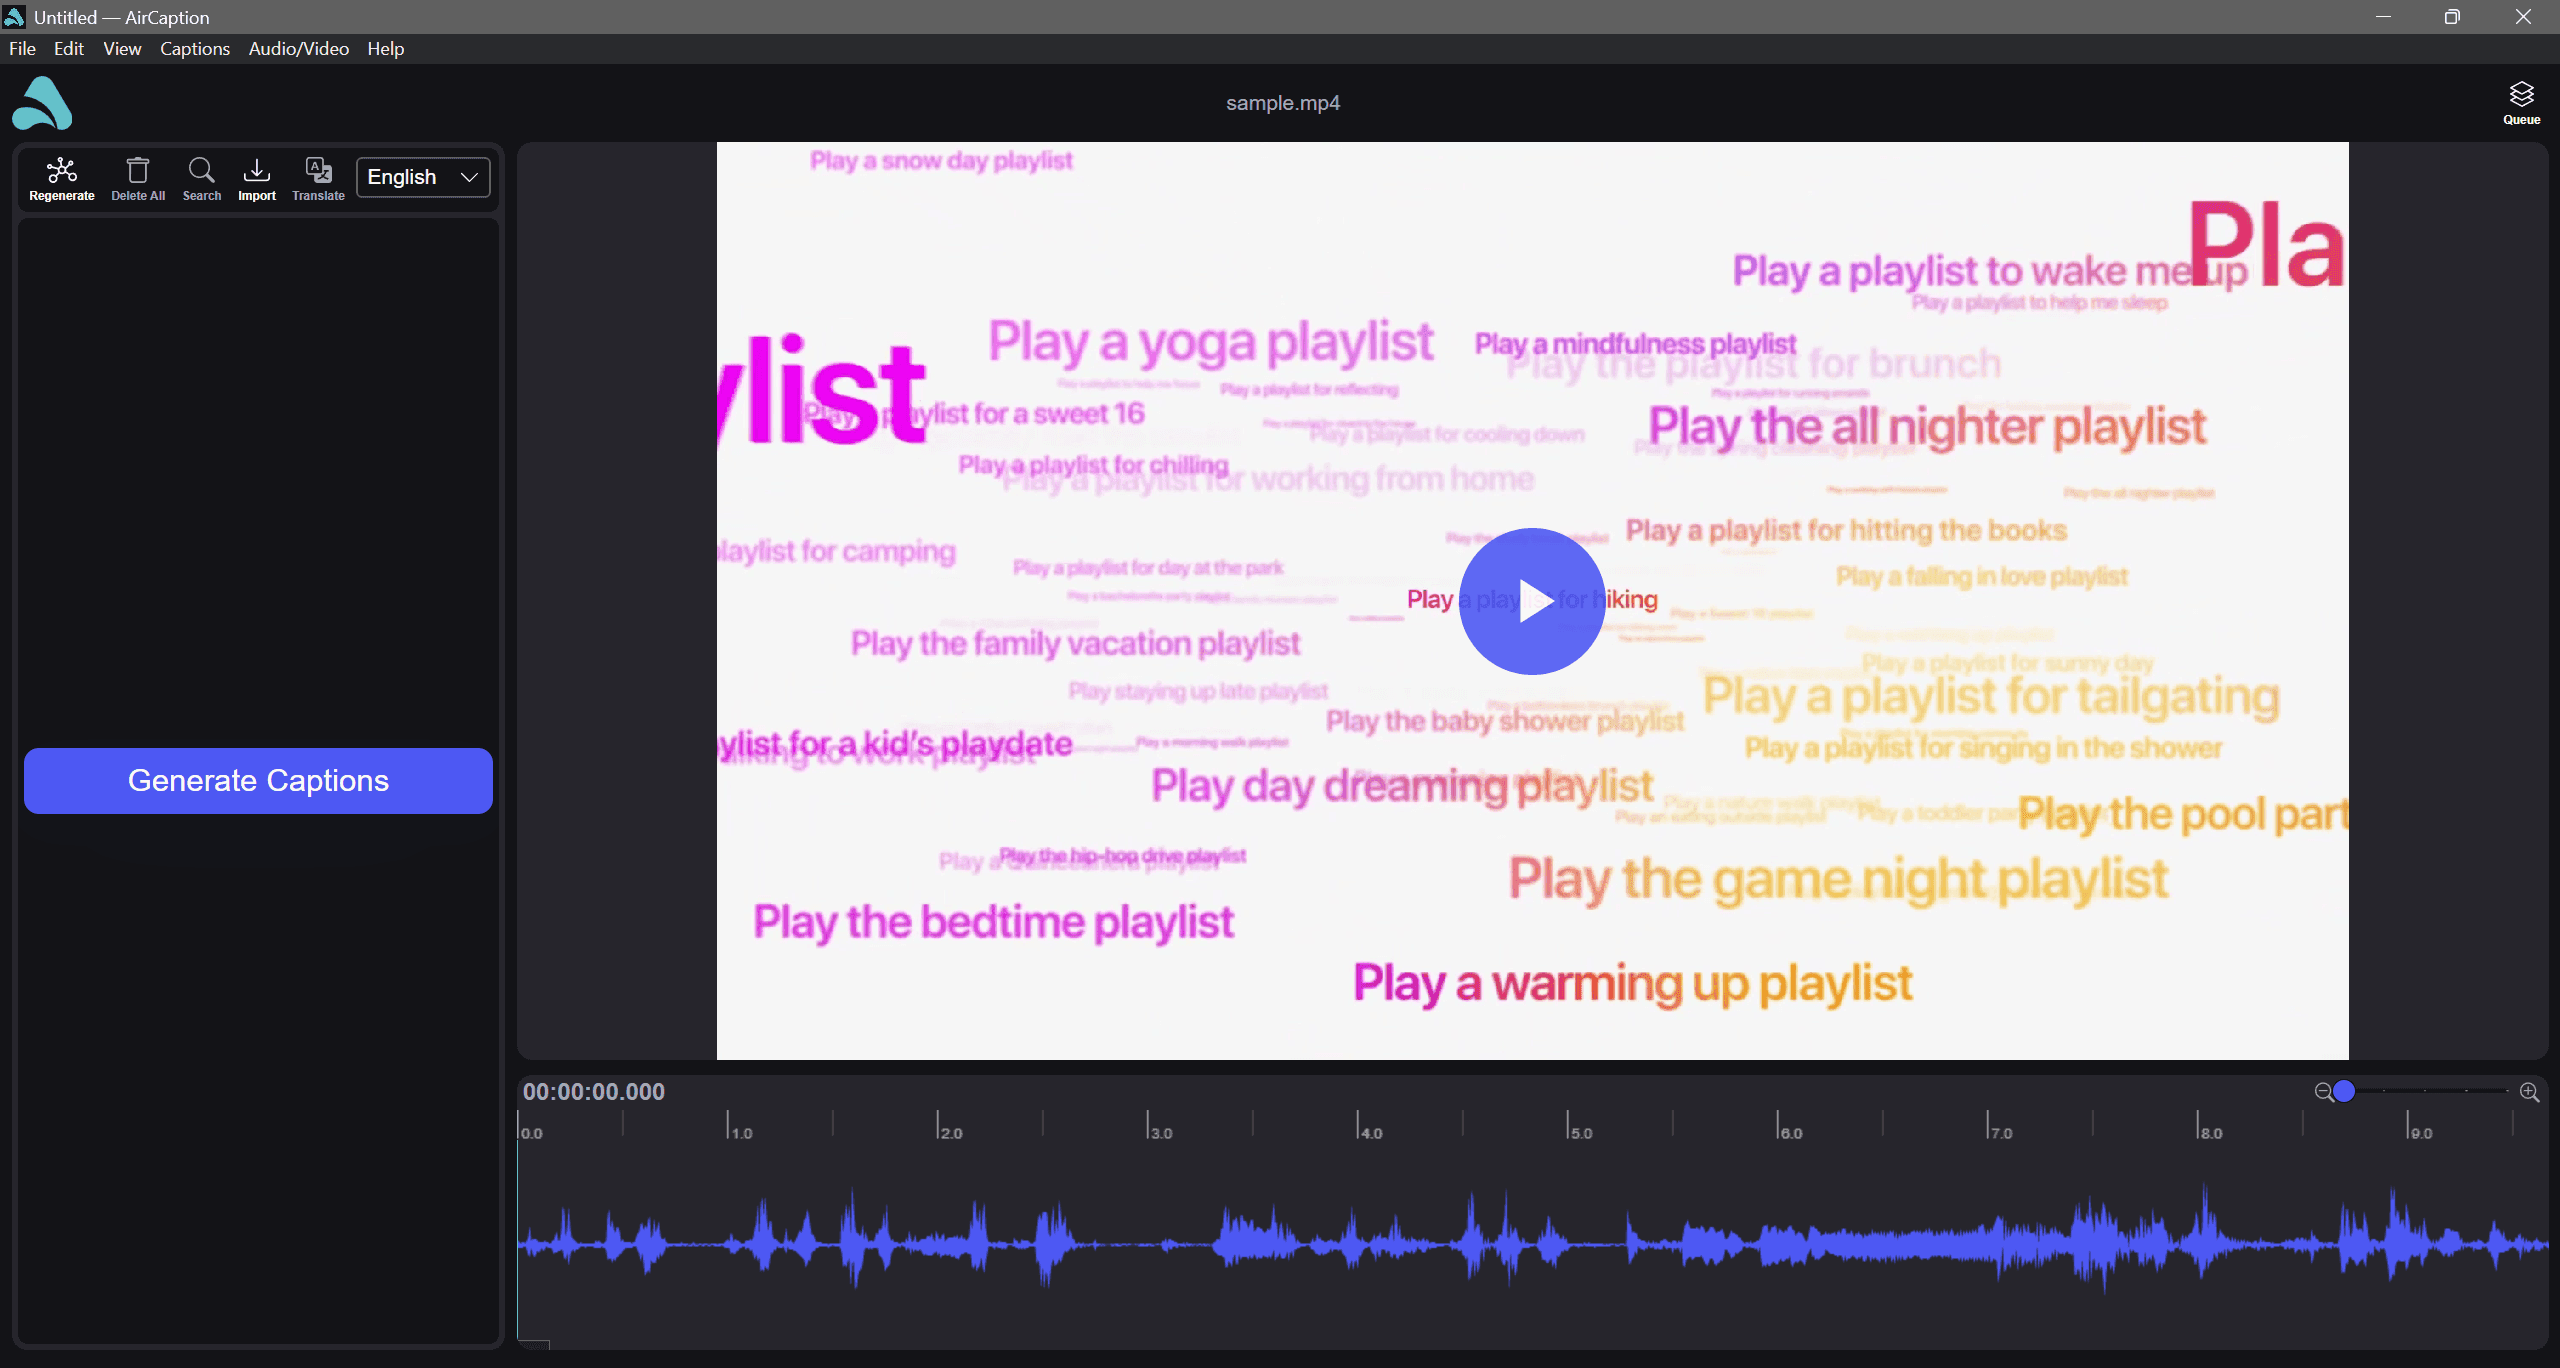
The media player appears on the right and the waveform at the bottom. Captions will appear in the left panel once generated.
AirCaption will ask what language is spoken in the file, select and click Set Language. Be sure to set it correctly because the AI model needs to know the language to do proper transcription and translation.
Check the job settings
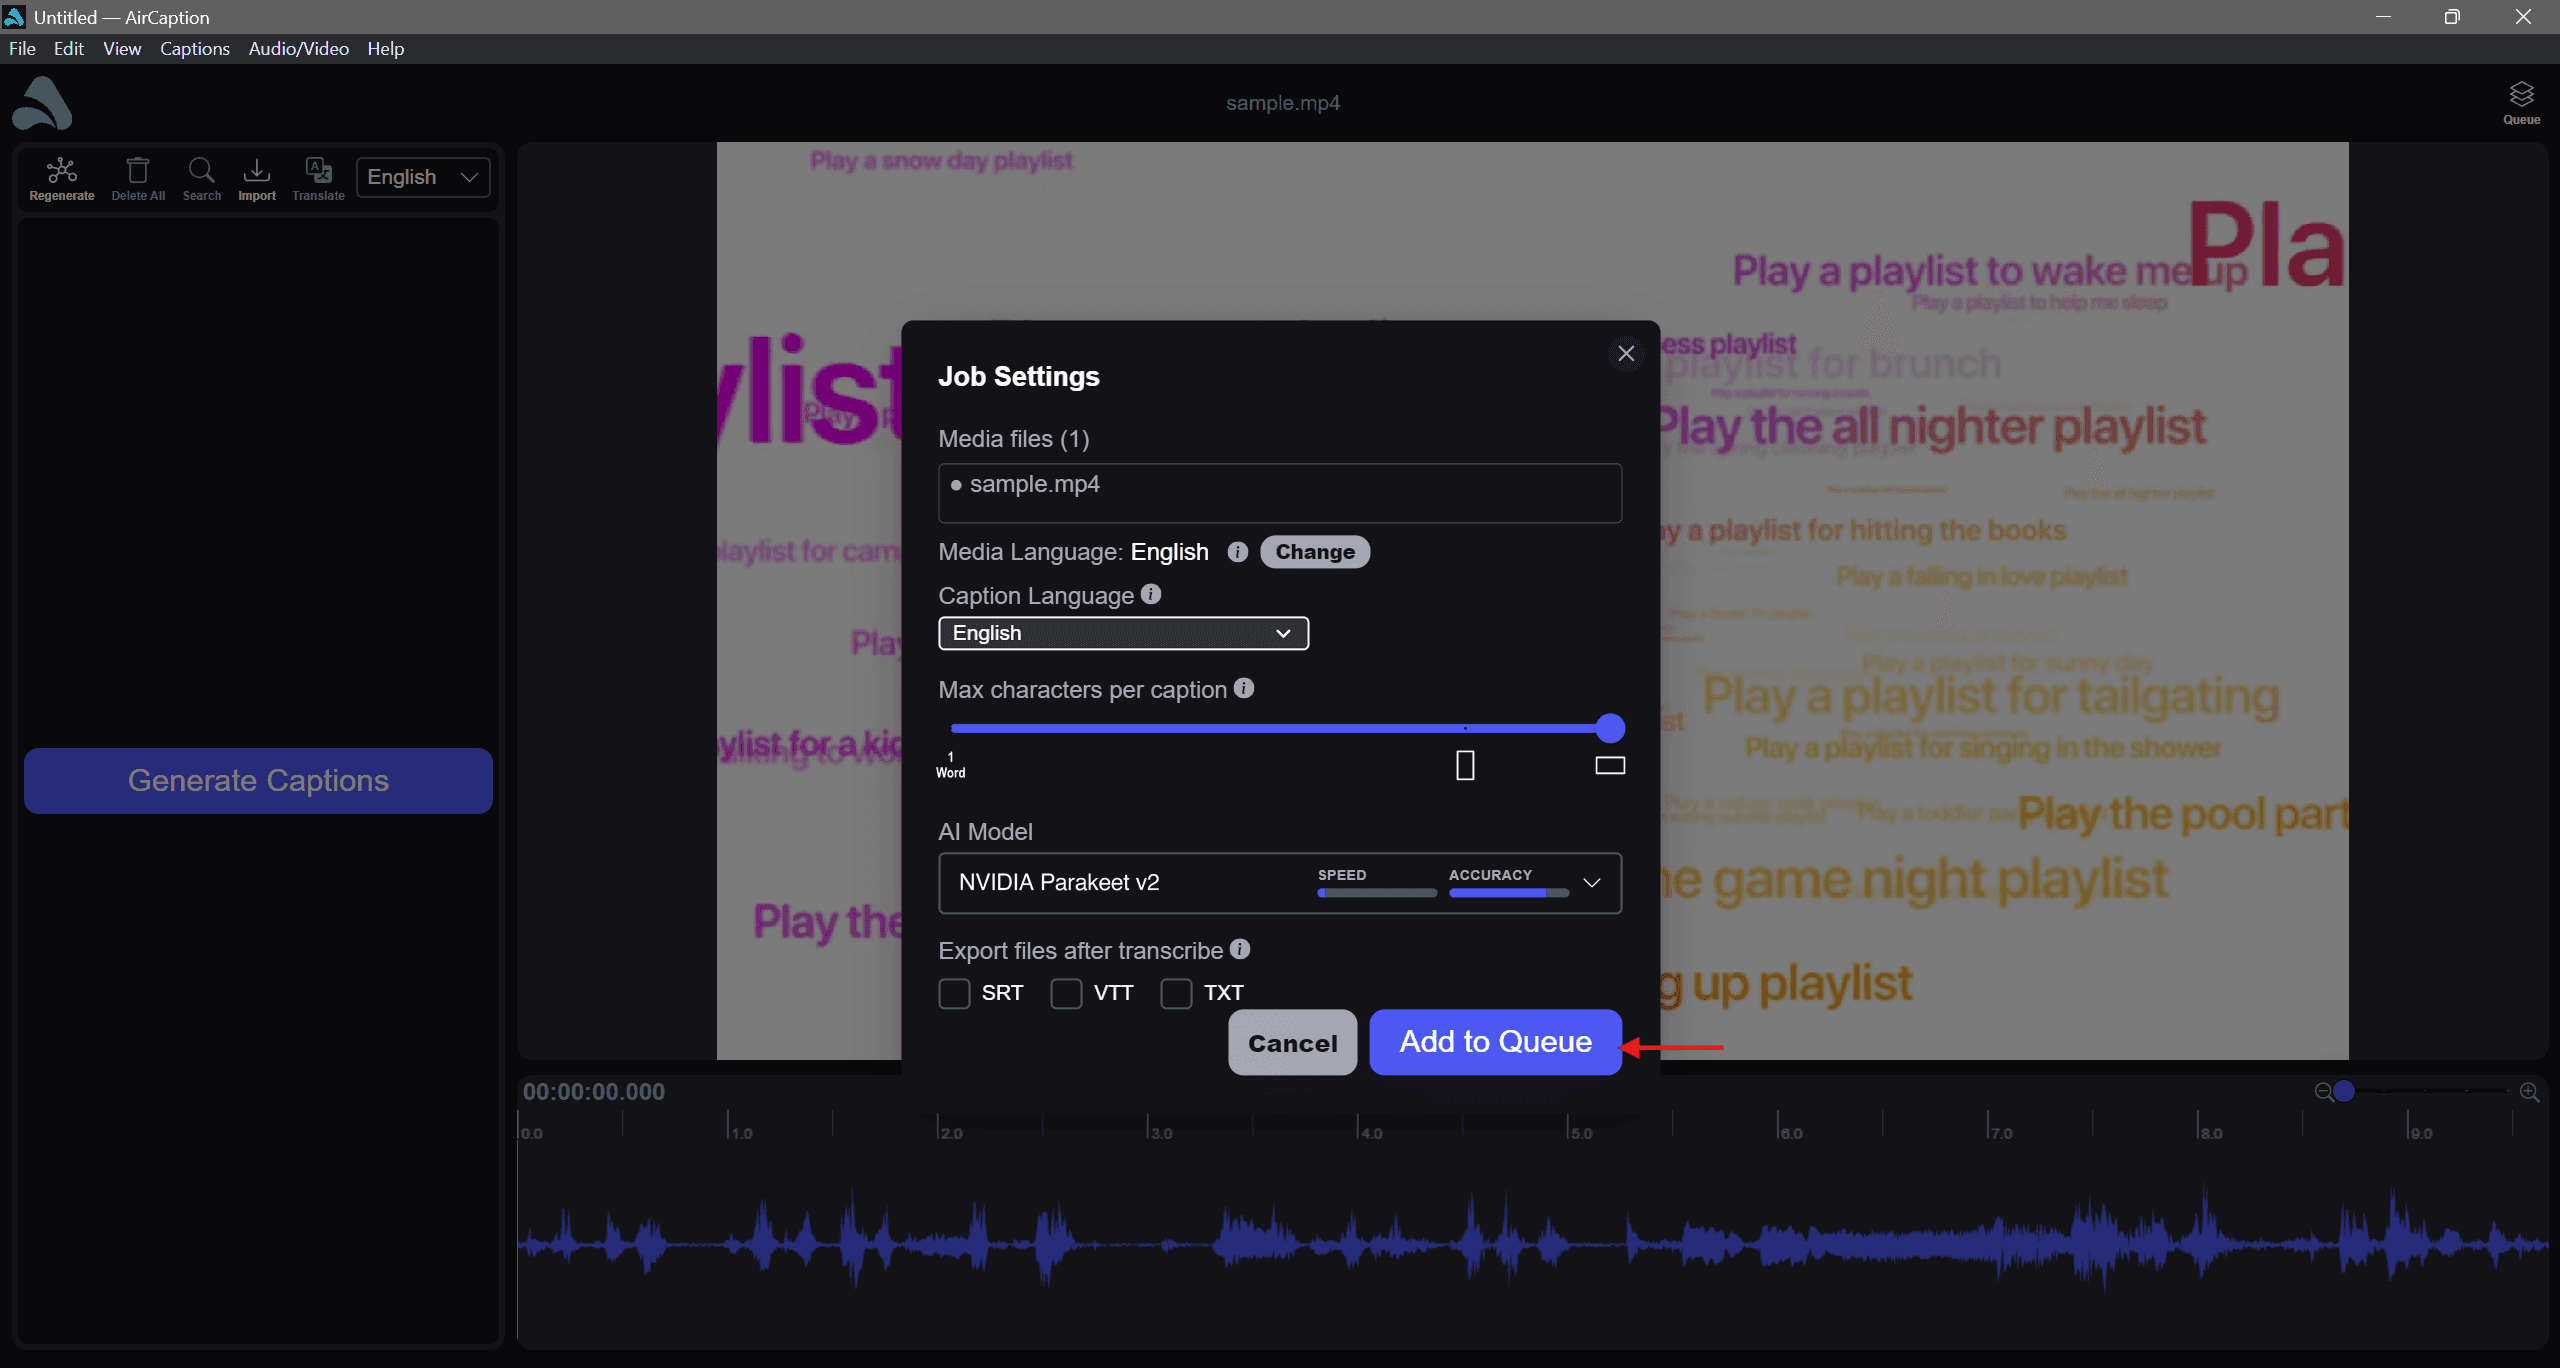
Click Generate Captions and the Job Settings dialog opens. Four fields are worth a look:
- Media Language is what is actually spoken in the file. Click Change if it is wrong.
- Caption Language is what the captions get written in. Leave it matching the media language.
- Max characters per caption sets how long each caption can run. 42 suits widescreen video, 32 suits vertical.
- AI Model is the one you downloaded in step 3.
Export files after transcribe can write SRT, VTT or TXT next to your media the moment the job finishes. Leave those unticked for now, since you will want to read the captions through before saving anything.
Click Add to Queue.
Let it transcribe
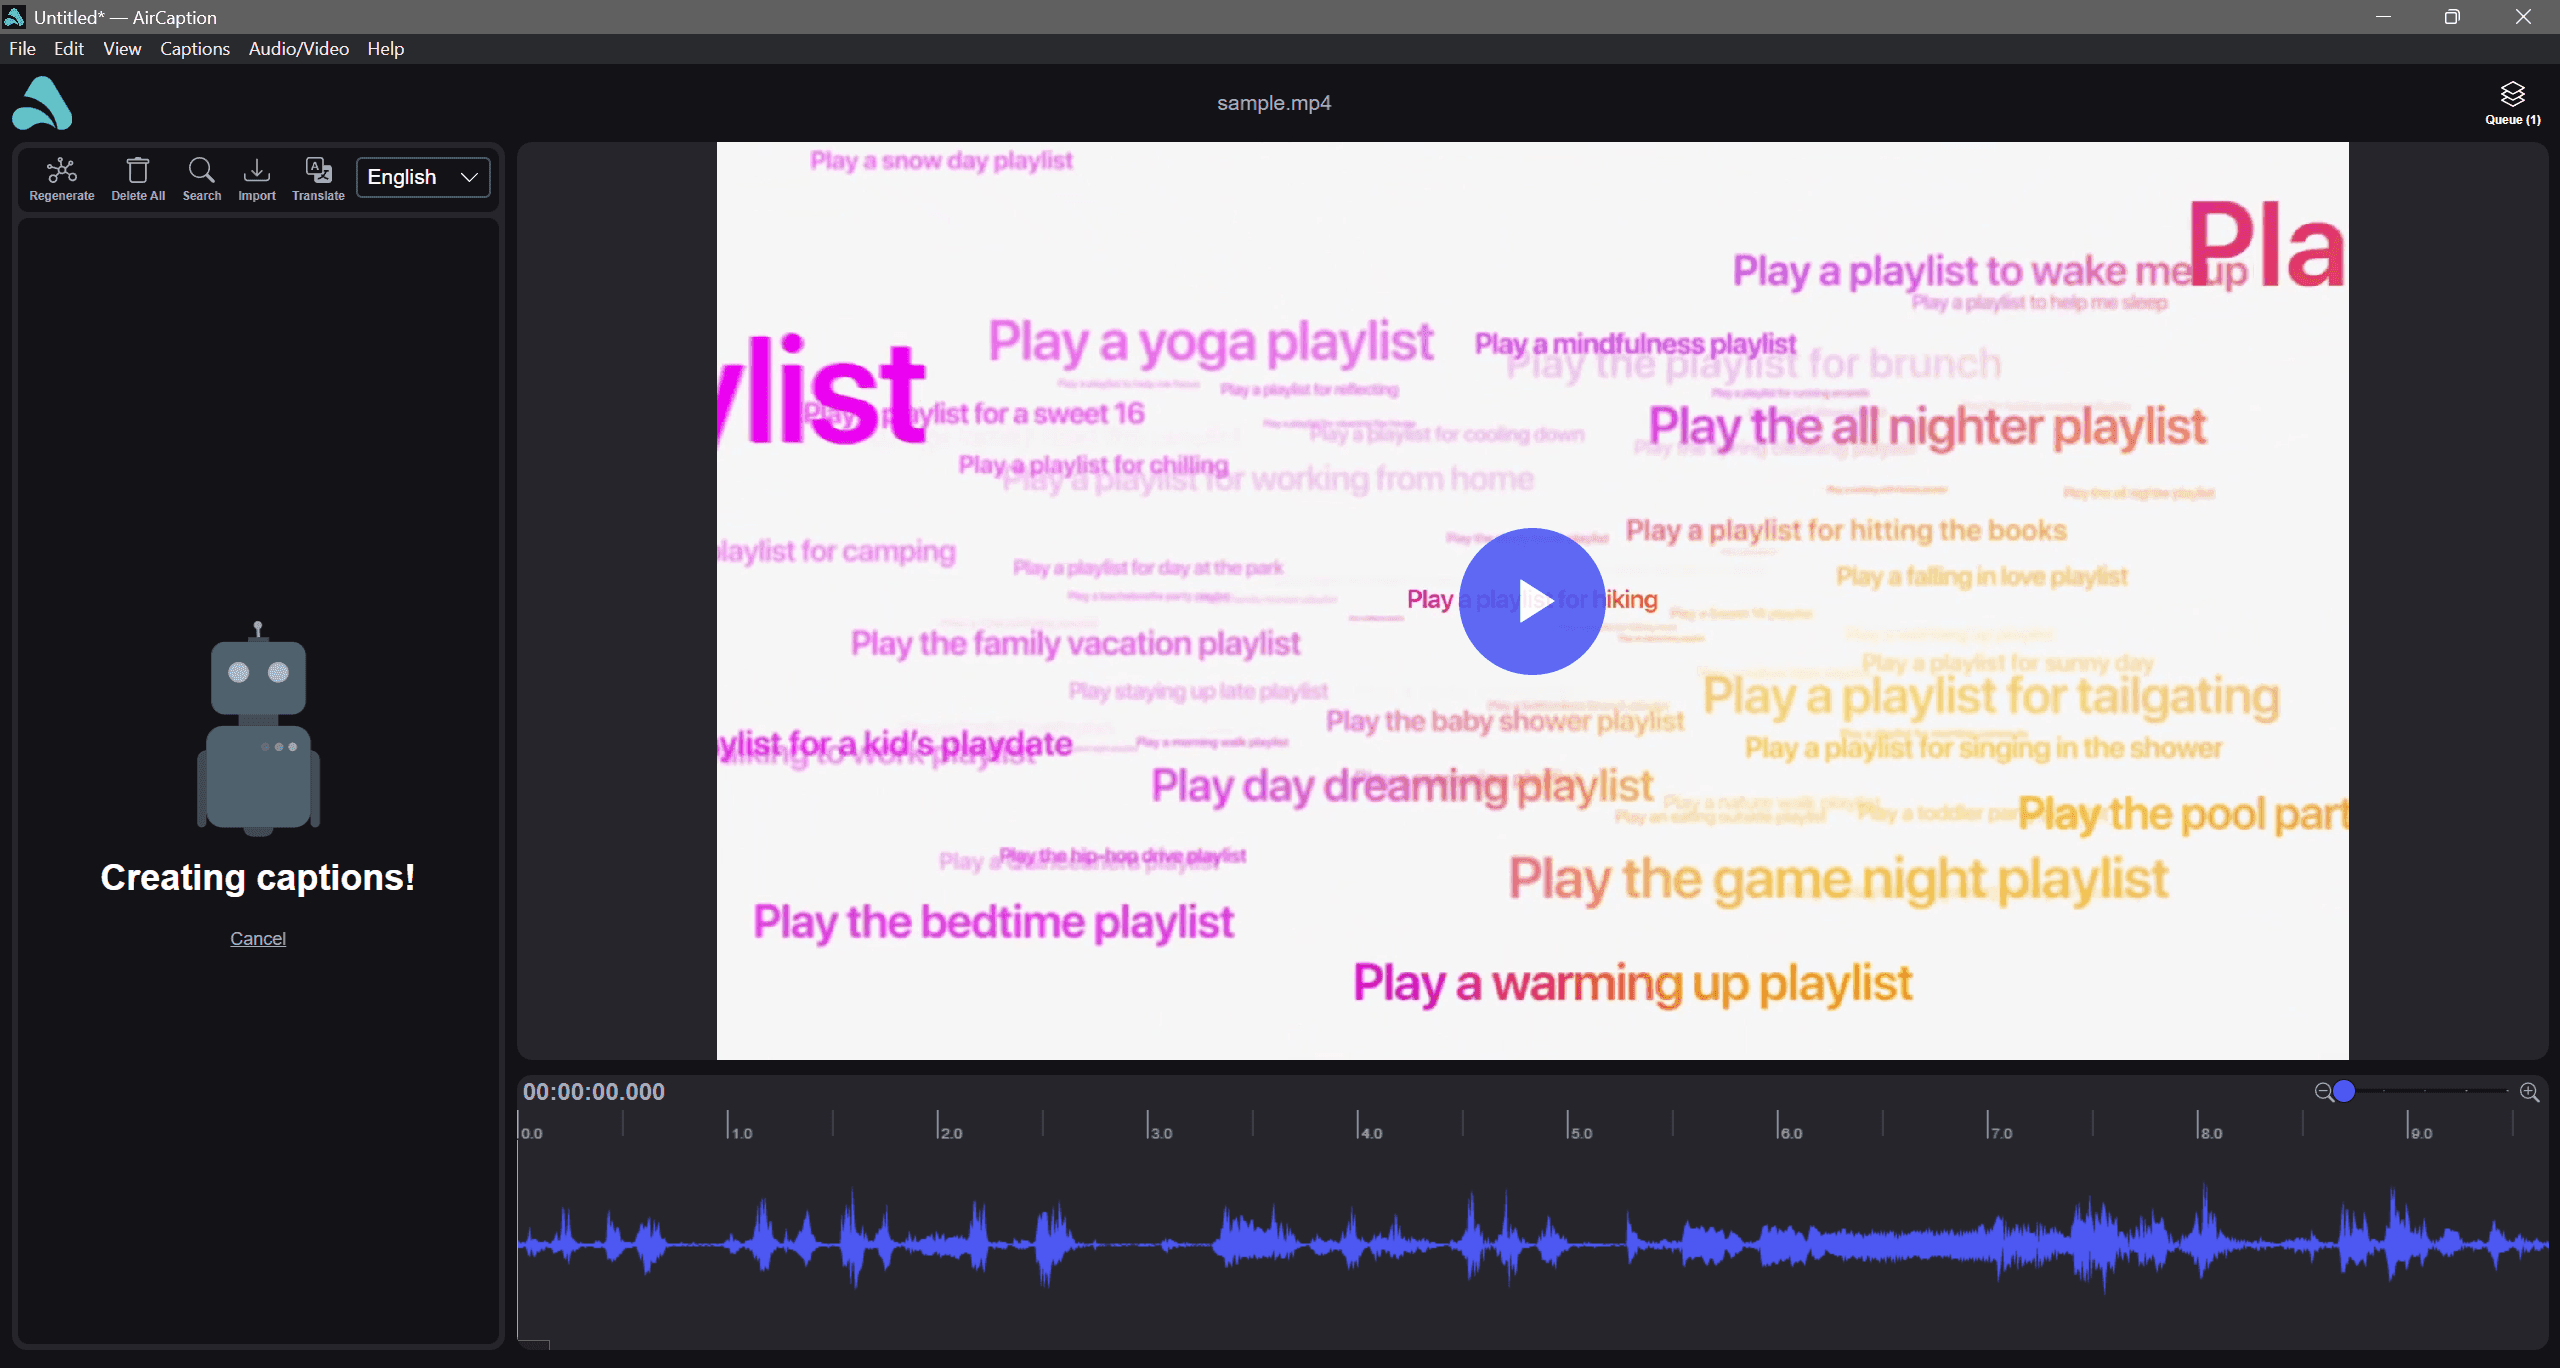
Creating captions! fills the left panel while the model works, with a Cancel link underneath if you need to stop it.
The model runs on your own machine, so the speed depends on your hardware and how long the file is. Captions appear in the left panel as they are produced. You can start editing the early captions while the AI is still transcribing the remaining captions.
Part 3: Edit and save
Correct the words
The AI gets you to roughly 90%. This step is the other 10%, and it is usually names, jargon and punctuation.
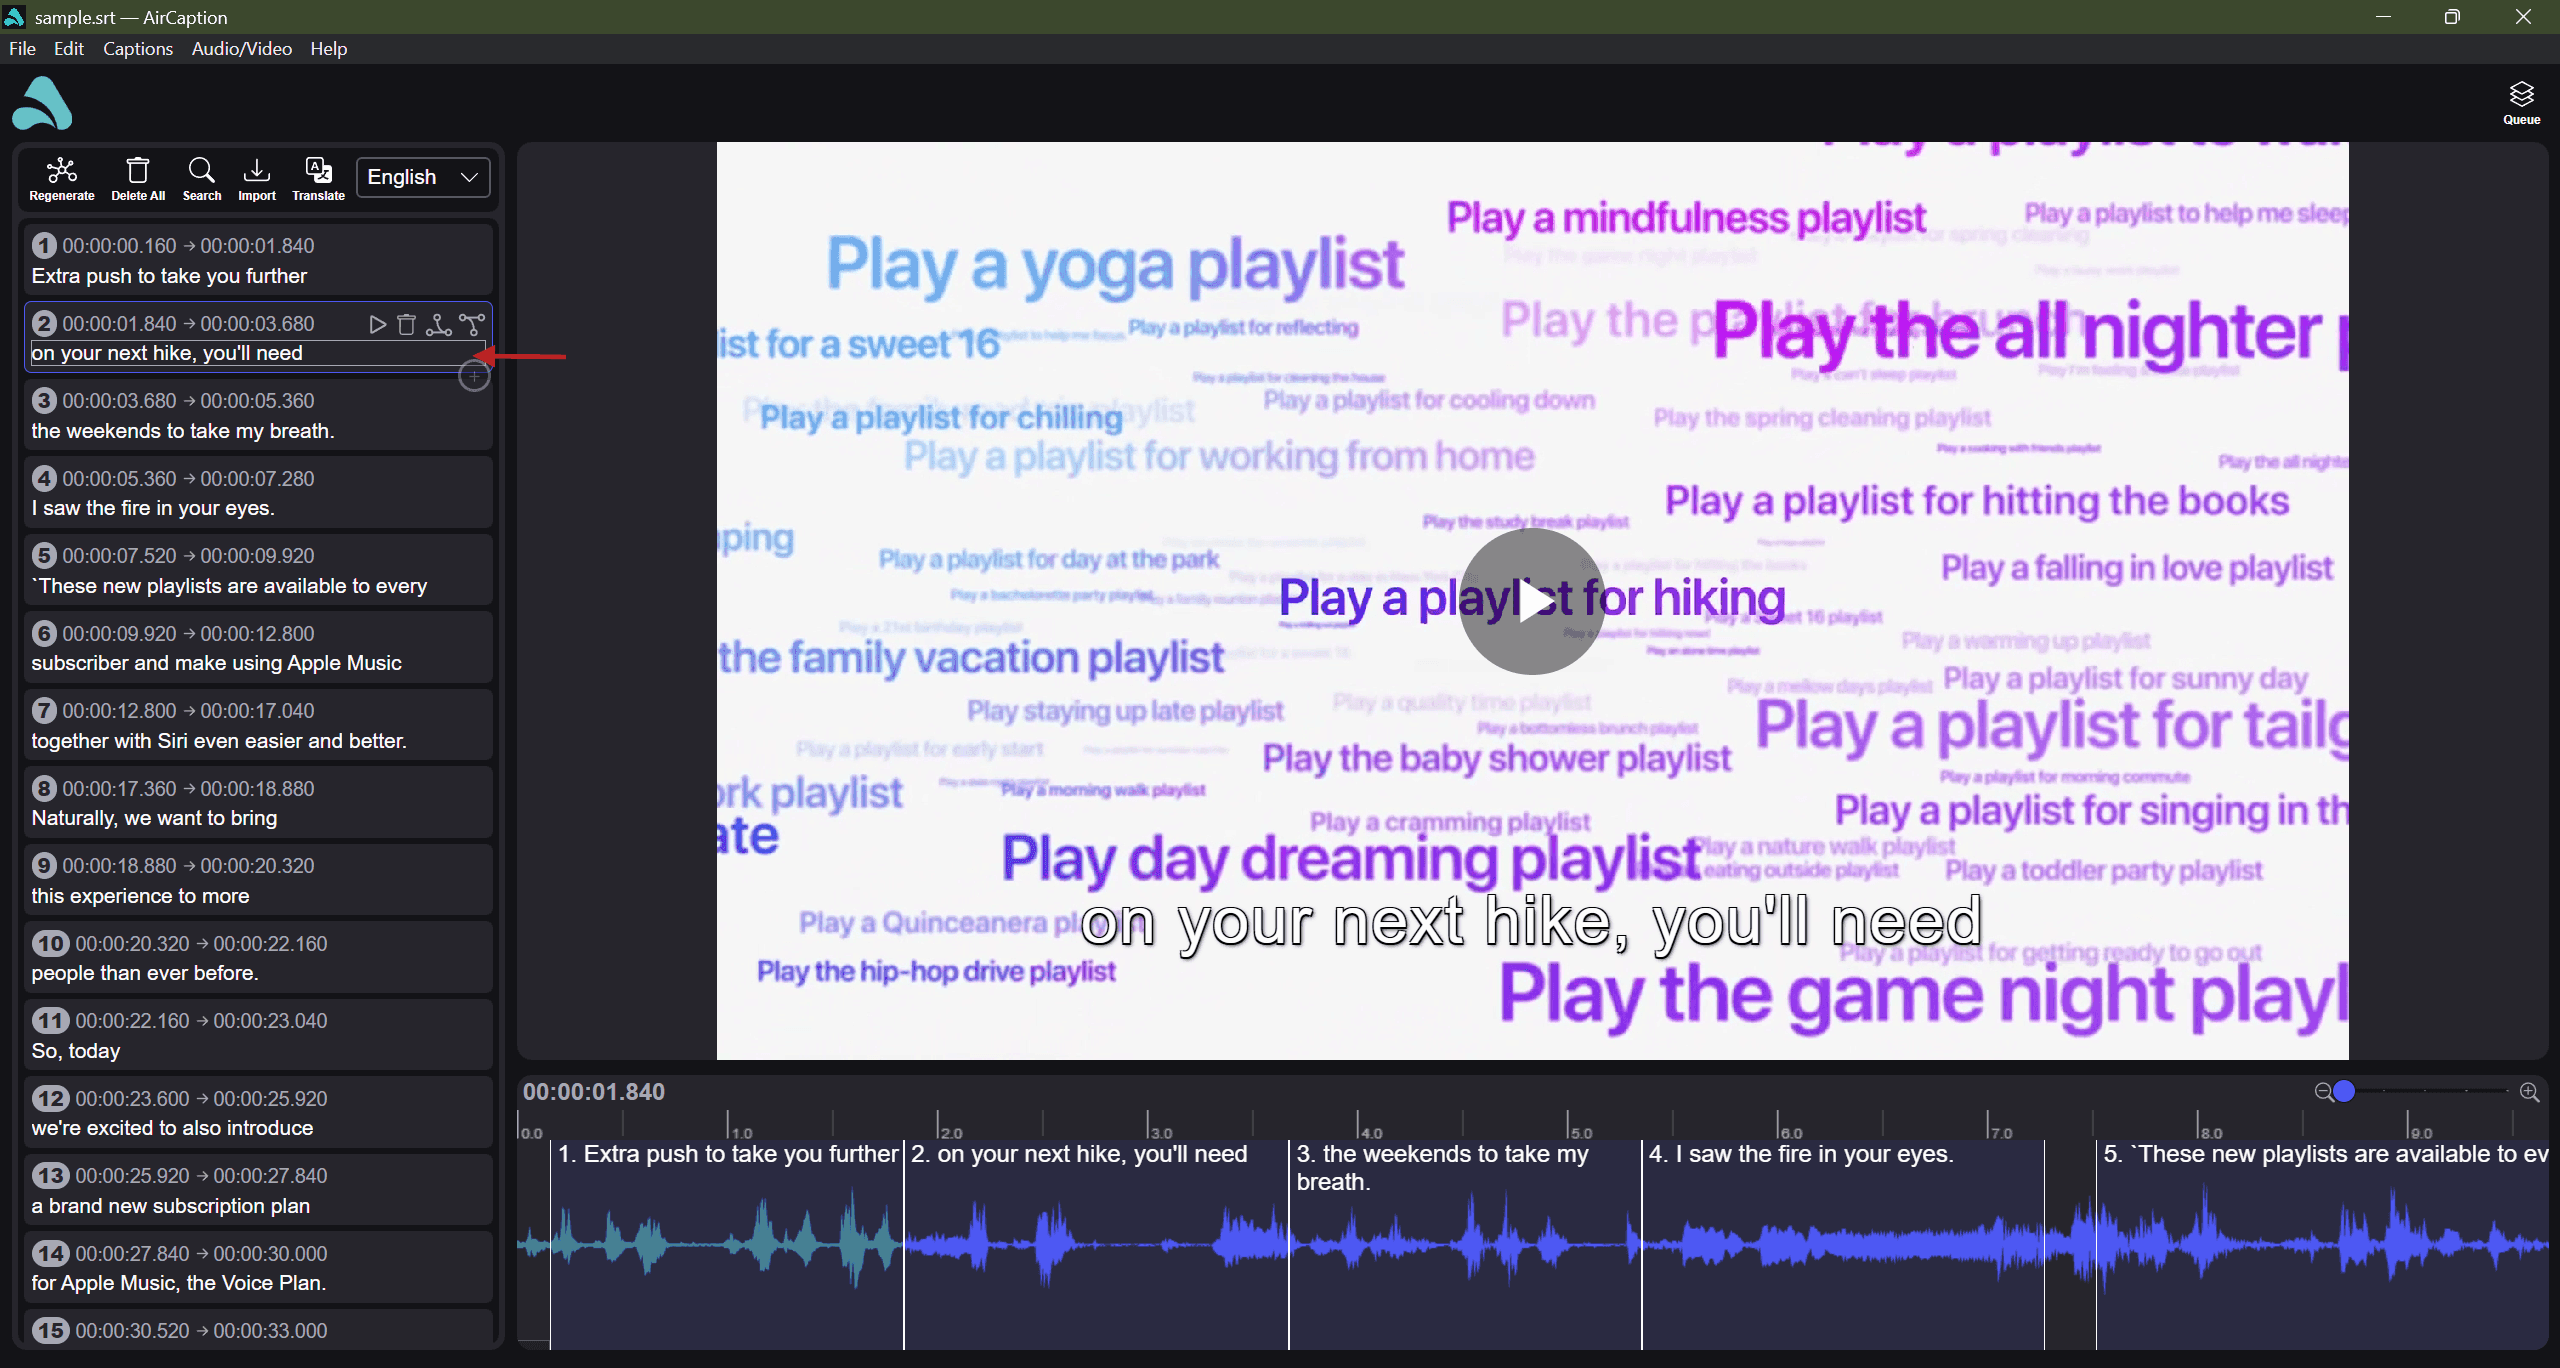
Click any caption's text and type, or edit it directly over the video. A few keys make this much faster:
Spaceto play and pause↑and↓to move between captionsCtrl+F(Cmd+F) for Find and Replace, the quick way to fix a name the AI misheard every single timeCtrl+Z(Cmd+Z) to undo
Correct the timing
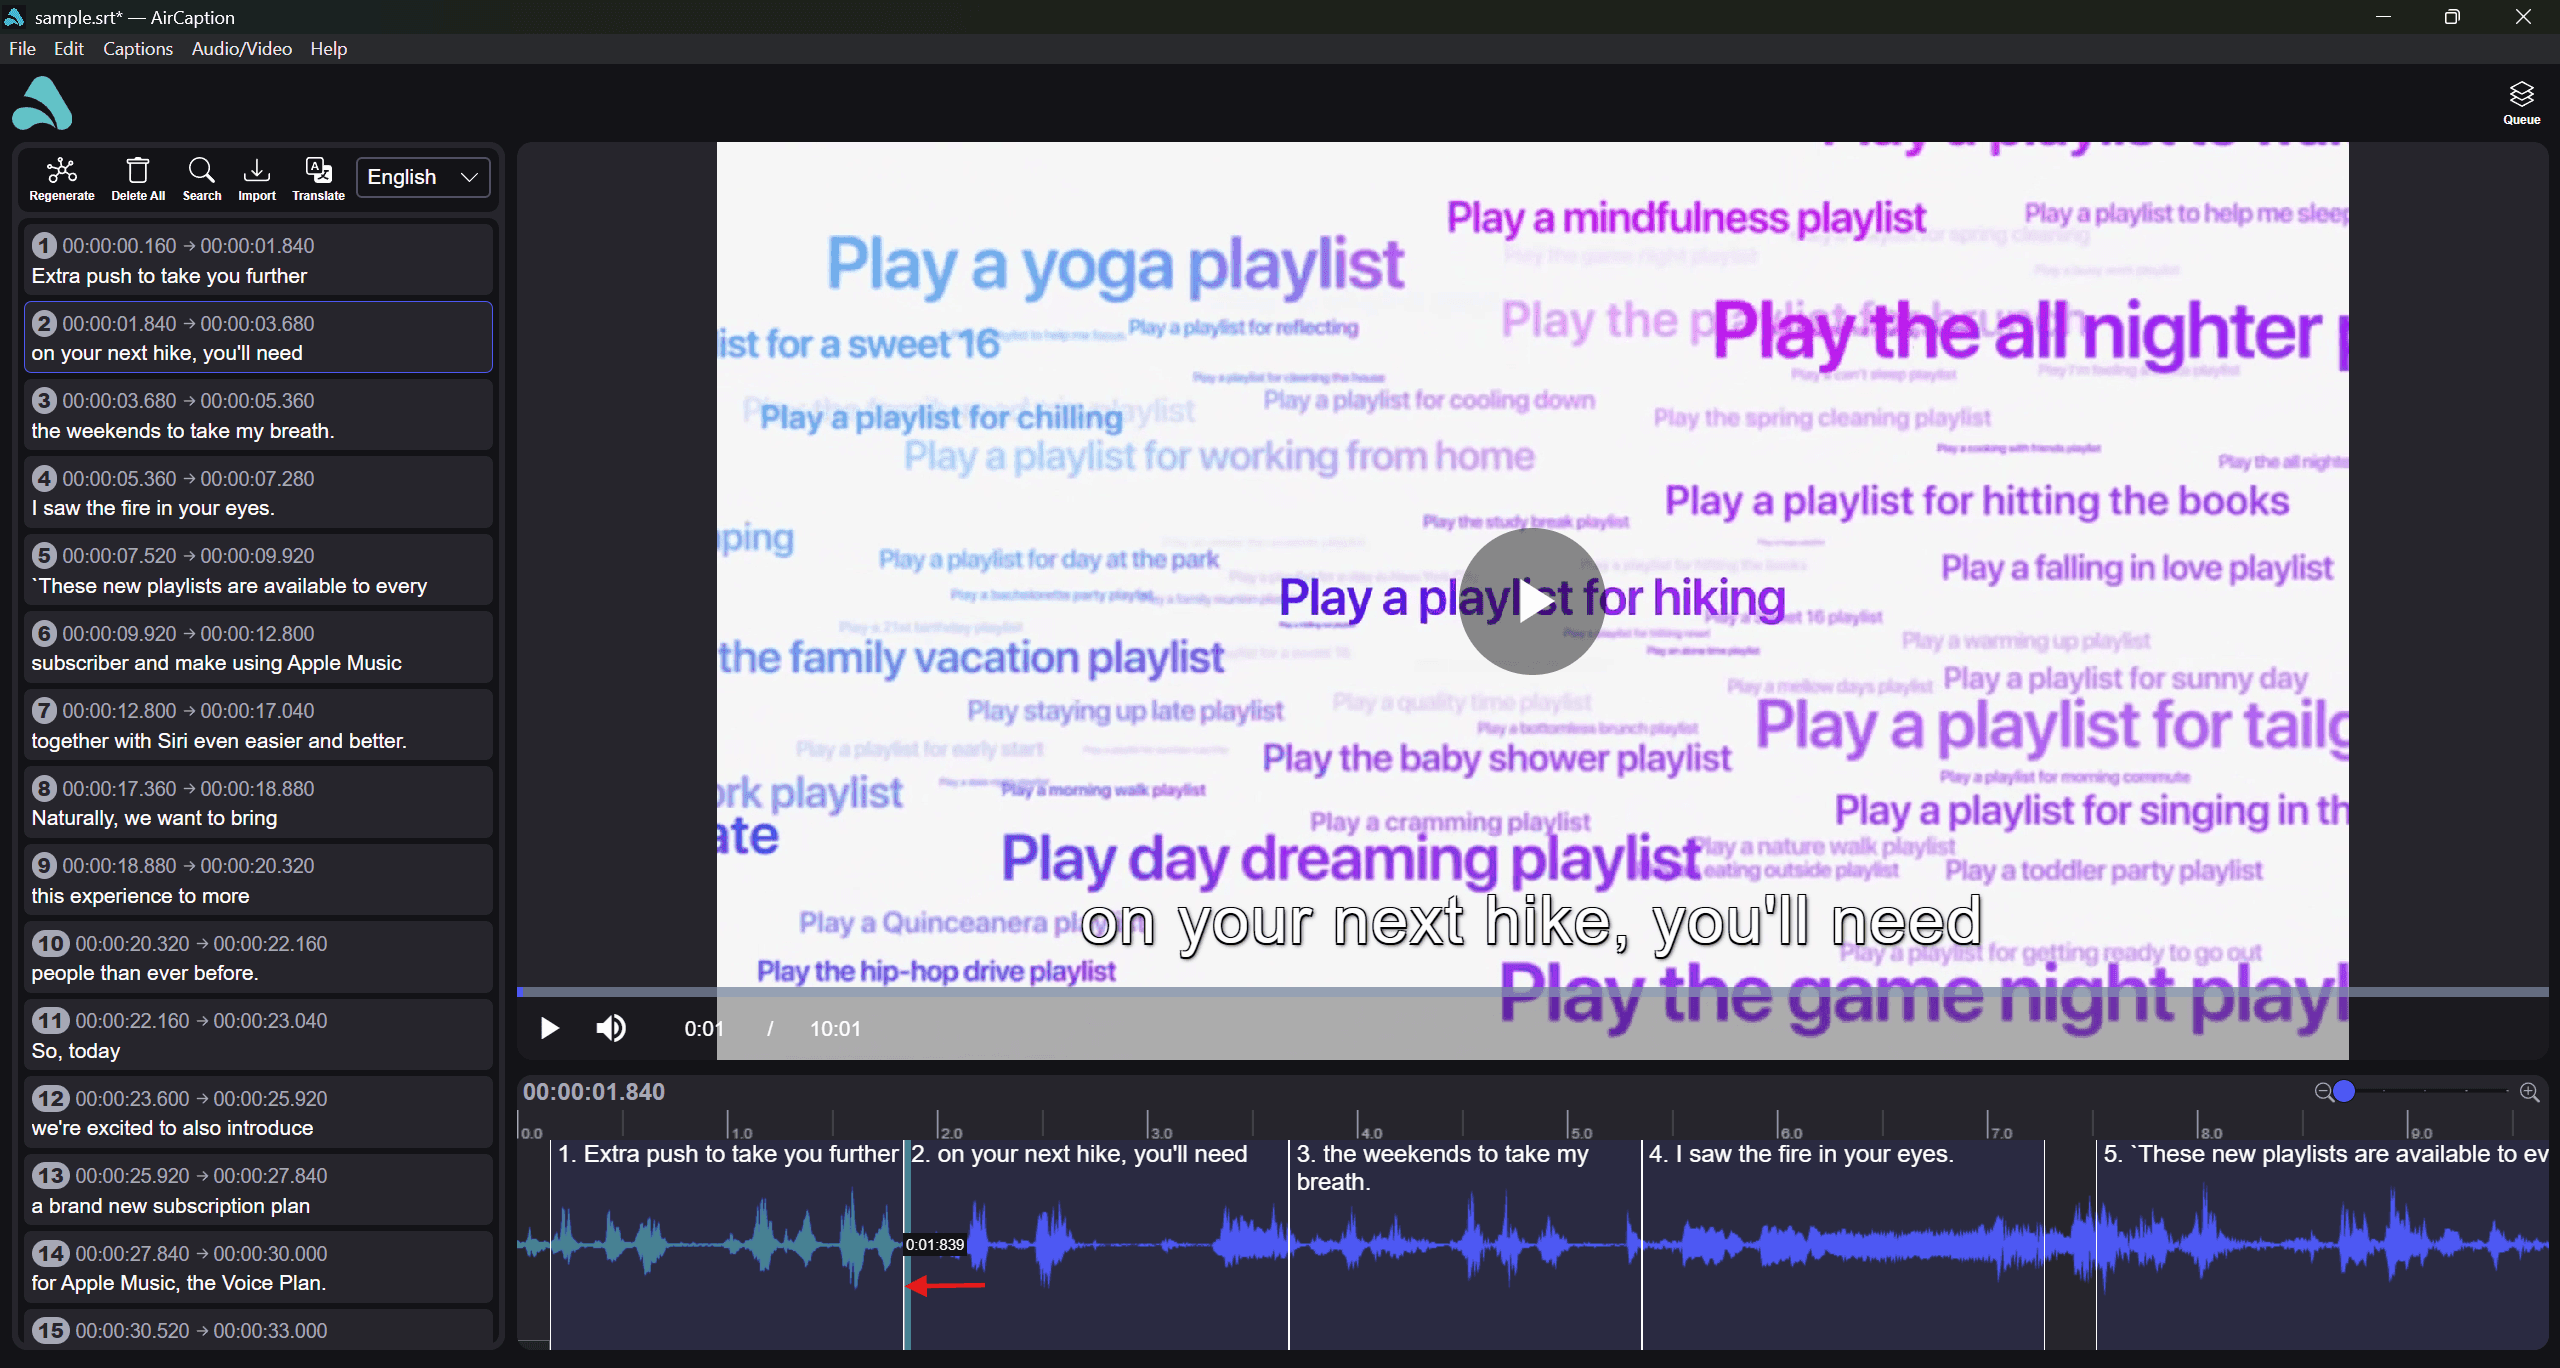
Captions that land slightly early or late are fixed on the waveform. Drag a caption's left or right edge until it lines up with the speech. You can also click a timecode in the caption list and type an exact time.
Hover a caption for the rest:
- Play (
Ctrl+P) to hear just that caption - Split (
Ctrl+K) to break one long caption into two - Merge (
Ctrl+M) to join it to the next one - Delete (
Ctrl+-) to remove it
The + between two captions adds a new one in the gap.
Save your caption file
Press Ctrl+S (Cmd+S).
Save is how you create your SRT and VTT files. AirCaption opens and saves subtitle files directly, the same way a text editor opens and saves a document, so there's no separate export step.
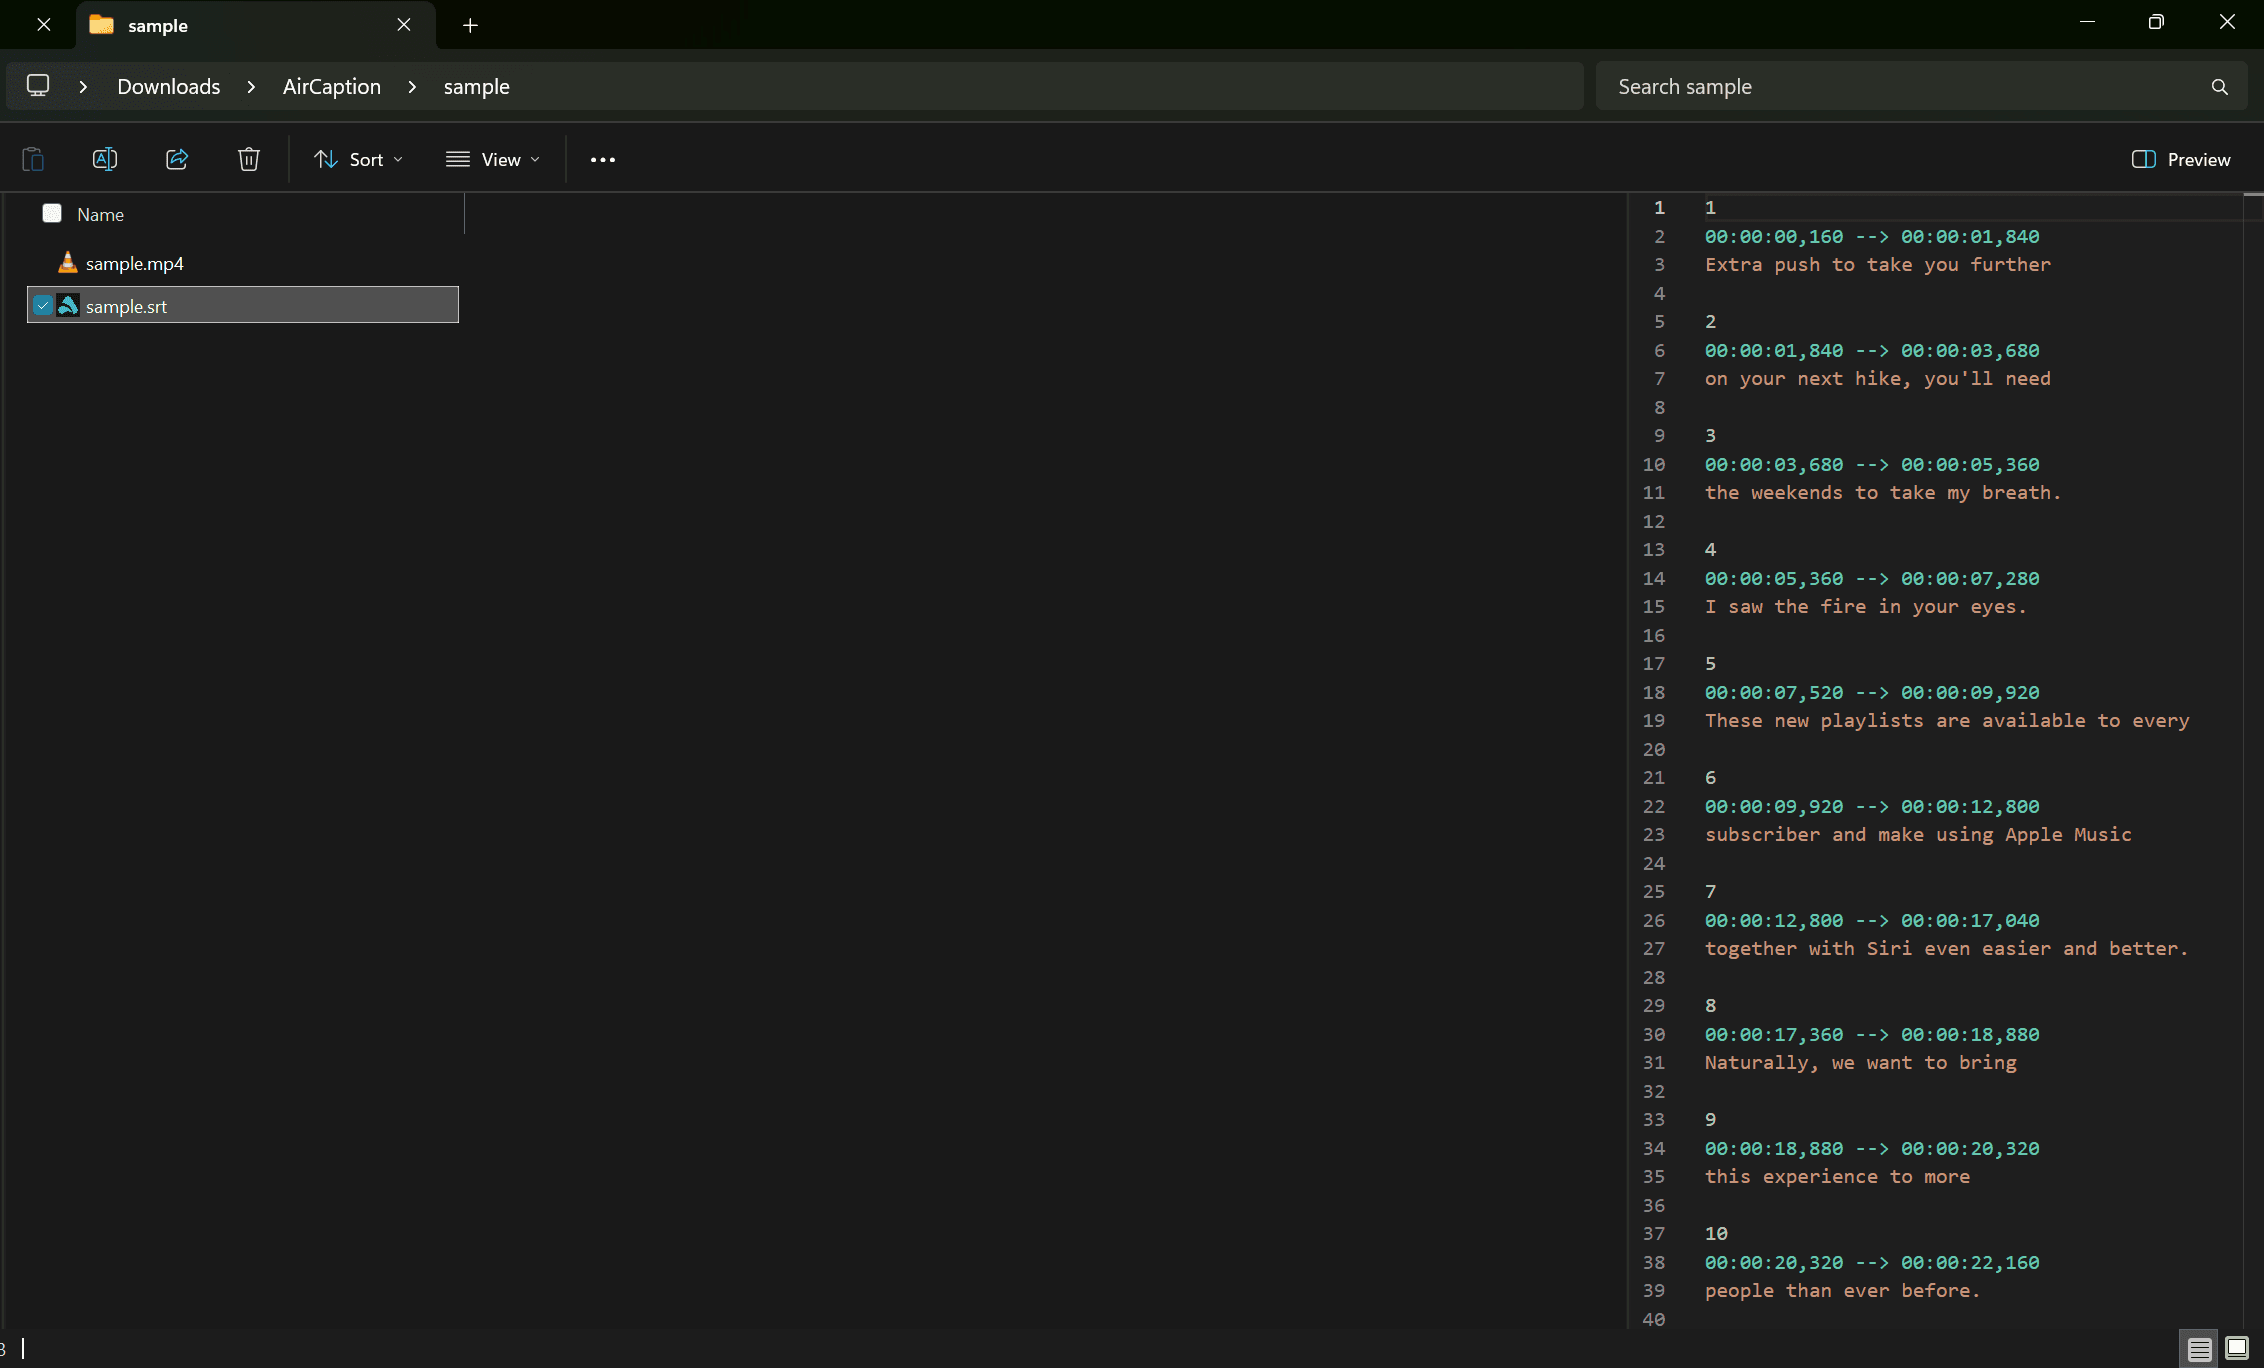
Your file lands next to your video, named to match, so sample.mp4 gives you
sample.srt. If you have captions in more than one language, each gets its own
file with a language code (such as sample.es.srt for Spanish).
Use File → Save As… to choose a different folder or select which languages to write.
Then what is Export for?
File → Export (Ctrl+E / Cmd+E) covers the two things that are not subtitle
files:
- TXT gives you a plain transcript with no timings, useful for notes, blog posts or search.
- Video writes a new video file with the captions burned in, for platforms that will not accept subtitle files.
Where you have the choice, upload the original video with an SRT or VTT beside it rather than burning the captions in. Viewers can turn them on and off, search engines can read them, and the picture stays untouched.
That is a finished caption file, start to finish!
Want to reach a wider audience? These same captions can become subtitles in more than 80 languages — see how to translate subtitles. If you run into any issues, please reach out to us.